Installing a third-party ROM on your Android mobile or tablet can be one of the best ways to give it a new life, especially if it is a relatively old device, which has already stopped receiving system updates from its manufacturer. However, many mobile device owners do not dare to install ROMs on their devices, either due to ignorance or because they believe that it is a more complex or dangerous process than it is.
The reality is that installing a ROM on an Android mobile is a more straightforward process than it seems. In this guide, we explain how to do it step by step.

Install a ROM on your mobile step by step
Of course, before proceeding with the installation of a ROM, it is necessary to take into account some requirements. The first is the need to download a ROM compatible with your device. To do this, we recommend you take a look at our list of the best third-party ROMs for Android, which offer versions for a large number of models from different brands.
In addition to that, in the vast majority of cases, we will need to have the bootloader unlocked. To do this, we recommend you look at our guide to unlock the bootloader of any Android device. You will also need to have a modified recovery, and for some of the procedures, it will be almost mandatory to have a computer on hand with the ADB drivers installed. When you meet all the requirements, you can continue.
Install a ROM via ADB Sideload
ADB Sideload is one of the best methods to install a ROM and one of the least used. It is fast, safe, efficient; it does not take up memory on your phone … The use of TWRP Recovery has become very standardized thanks to its compatibility with many devices of all kinds, and many have already left aside the console of commands. However, this is still a handy tool that can get you out of a lot of trouble. Even so, keep in mind that you still need to have a modified recovery to install a ROM in this way unless you intend to install an OTA or official factory image provided and signed by the device manufacturer itself.
The main advantage of recovery is that you do not need a computer to perform operations such as installing a ROM, only for the first time you install it – and, in some cases, not even that. On subsequent occasions, you have to download the ROM from the mobile itself and install it. But what if your internal memory gets damaged? Or, if you’ve never changed the ROM, wouldn’t it be more convenient to install it directly from the PC without occupying the device’s internal memory? We are going to explain how ADB Sideload installs a ROM since it is straightforward:
- The first thing to do is download the ROM package you want to install on your mobile and store it somewhere accessible on your computer.
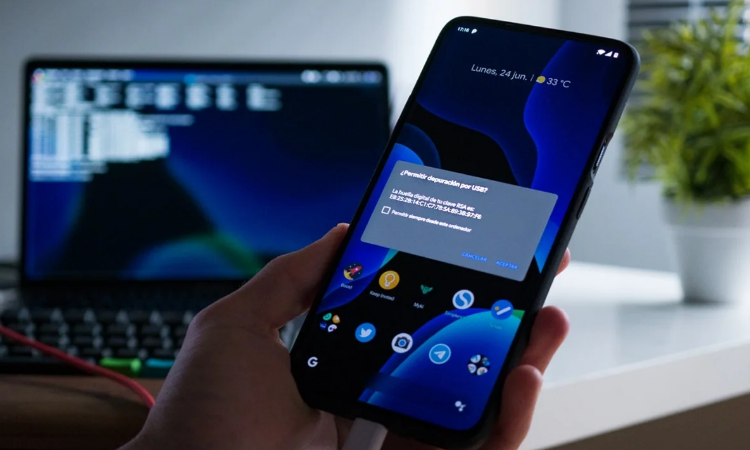
- Now, connect your device to the computer with USB debugging enabled and, through a command window, execute the instruction “ADB devices.” If the serial number of the terminal appears, everything is correct, and you can continue.
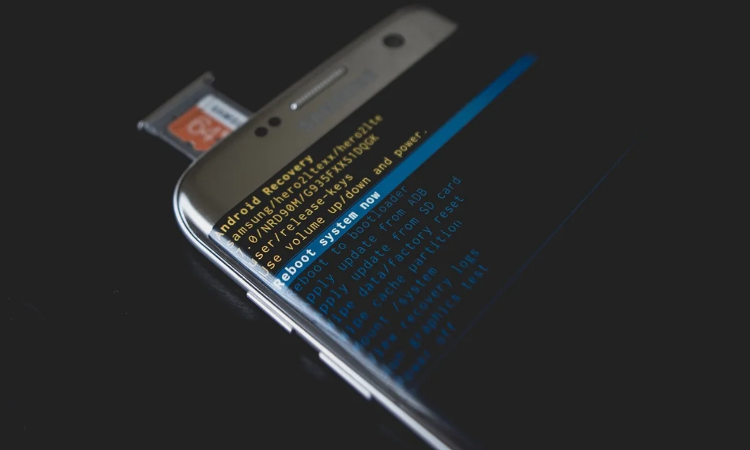
- Turn off the phone and boot into TWRP recovery mode manually –usually by holding the Power and Volume buttons down while powering up–, or through the “ADB reboot recovery” command.
- Navigating through the volume keys, we must position ourselves above the “Advanced” option and select the “ADB Sideload” option.
- On your computer, open a command window and type the instruction “ADB sideload [ROM FILE] .zip _“ **, where [ROM FILE] is the path of the downloaded update file. If everything is correct, the installation process will begin.
- Once finished, you can restart the device or perform any other operation that you deem appropriate.

Install a ROM through recovery
If, instead, you want to use the modified recovery already installed on your device, the process is much shorter and more accessible. You have to make sure you have a modified recovery and that you have the ROM in the internal memory of the device.
“Important | In some cases, the ROM installation process itself will completely format the internal memory of our device to perform a “clean installation”. However, it is also advisable to format the device ourselves through the “wide data/factory reset” options in the recovery. In any case, it is best to have a full backup on hand so you don’t lose any data.”
- Download the ROM: on the platform’s official website, download the corresponding ROM package for your device, and store it in the internal memory of the Android phone or tablet. You may also need to download the Google Apps package.
- Boot the device in recovery mode: to install the ROM, you will need to have a modified recovery such as TWRP, which will have been installed previously. To access this menu, the most common is holding the Volume Down + Power buttons for 5 seconds when the phone is off.
- Install the ROM: in the recovery, access the “Install” menu. Select the option corresponding to “Install zip from storage / sdcard,” and in the file explorer that will appear, find and select the ROM package you downloaded in the first step. Once the installation is complete, it will be time to install the Google Apps.
Although we have not included it in the procedure, in some cases, it may be recommended to perform a “Wipe” of the different partitions of the system, such as Caché or Data. In this way, you will have already installed the new ROM on your device. However, it will depend on whether the ROM is being installed for the first time or an incremental update. For this reason, again, we recommend that you inform yourself on the official website of the ROM that you intend to install.
Another aspect to consider is that, although this ROM installation guide will work in the vast majority of current devices, in some, it will be necessary to resort to specific tools such as Samsung’s Odin or Xiaomi Mi Flash Tool.

Sharlene Meriel is an avid gamer with a knack for technology. He has been writing about the latest technologies for the past 5 years. His contribution in technology journalism has been noteworthy. He is also a day trader with interest in the Forex market.


![How to Watch UFC 295 Live Stream Free [Updated 2023] UFC 259 Live Stream Free](https://techsmartest.com/wp-content/uploads/2022/03/UFC-259-Live-Stream-Free-100x70.jpg)
![How to Access UFC 296 Live Stream Free [Updated 2023] UFC 260 Live Stream Free](https://techsmartest.com/wp-content/uploads/2022/03/UFC-260-Live-Stream-Free-100x70.jpg)


