Who doesn’t want to boost their overall gaming engagement with top-notch mics that transmit clear sounds at an incredible speed? Certainly not us! And proper installment and setup also play a critical part, which is why these insightful guidelines are crafted to instruct you how to set up and test microphones in PlayStation.
Ready to enter a whole new world with your mics? Let’s begin!
How to Set Up and Test Microphones in PlayStation
This section will detail steps to set up and check your mic’s quality. Keep scrolling!
A. Set Up

Method 1. For USB Microphones/Headsets
Step 1. Plug the headset or microphone into your PlayStation Console. Its USB ports are often located on the right, middle, or front.
Step 2. Now go to your PlayStation dashboard. Turn it on and press your ava for account login.
Step 3. Tap the analog sticks to enter more options. The apps will shift down to reveal more icons on the screen.
Step 4. Choose “Settings”. You can also use the analog sticks to navigate to “Settings”, often positioned on the screen’s right side. Press “X” to select.
Step 5. Hit “Devices”. Certain PlayStation models will require you to scroll a little to find that option. It often has a controller and keyboard icon.
Step 6. Now press “Audio Devices” – the second choice on the menu.
Step 7. Ensure the USB microphones are listed in the menu as an “Input Device”. To do so, hover your finger over the “Input Device” section and press “X” to activate it.
- For those who use headsets instead of standard microphones, your Output and Input Devices will be identical.
- For those using both microphones and headsets, switch the Input Devices to “Microphone” and Output Devices to “Headset”.
Method 2. For Jack Microphones/Headsets
Step 1. Plug the headset or microphone into your controller, whose port is often placed on the front, underneath the logo button. For headsets with separate cords for microphones and audio, you might need to purchase an adaptor for conversion.
Step 2. Go to the dashboard, turn it on, and sign in to your account via the avatar. Then tap the analog to display more options.
Step 3. Navigate to “Settings” on the screen’s right side and select Devices. Choose “Audio Devices”, then slide your fingers onto the “Input Device” section. Press X to list the microphone as your input device.
- Similar to USB headsets, your output and input device for jack headsets will be identical.
- If you use both microphones and headsets, set your microphone as “Input” and headset as “Output”.
B. Testing

Step 1. Confirm your headsets are properly connected, and your microphones are not muted.
Step 2. Hold the “PlayStation” button on the controller. Keep your fingers there until the screen displays options. Scroll to the “Device Management” section and choose it.
Step 3. On the device menu, pick the microphone you need to test. There will be an input meter to absorb any noises your mics pick up.
Now speak into that mic and observe whether the input levels increase. Feel free to modify the volume and test it several more times.
Another approach is to press “L2” from your home screen and activate voice commands. After that, talk directly to your PlayStation and see whether it can pick up your voice. You may also record voice messages and listen to their playbacks.
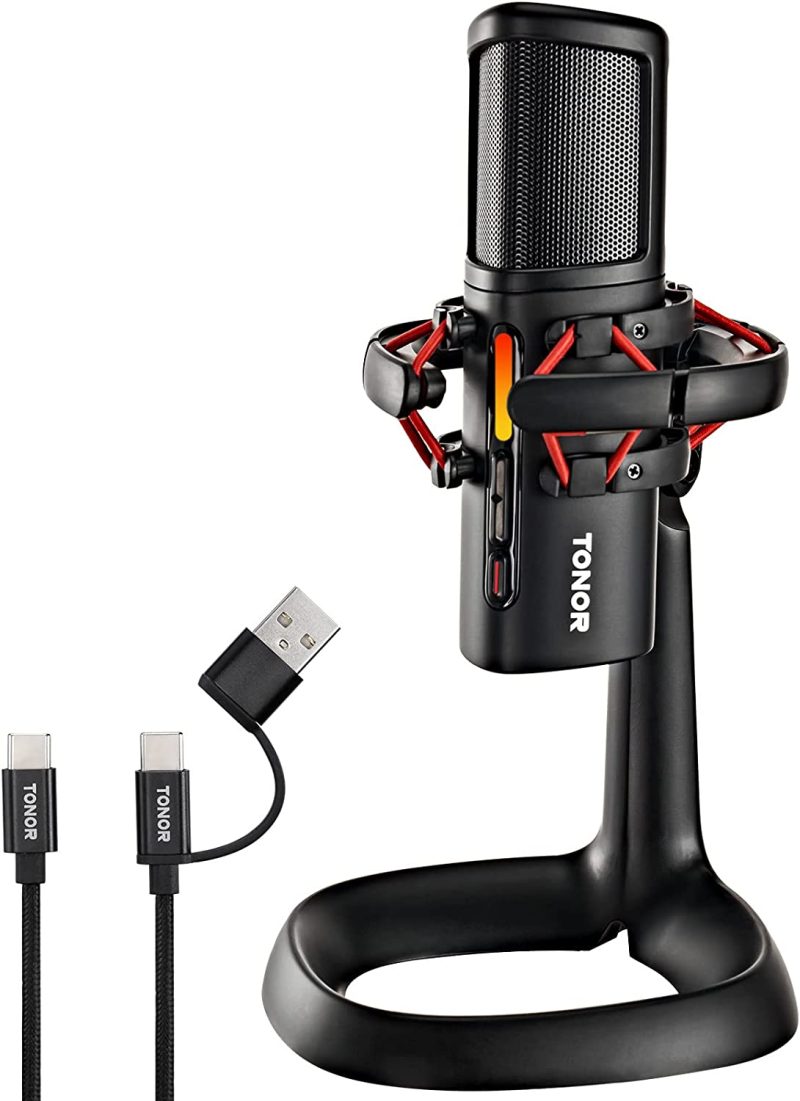
A Great Mic to Consider: Tonor USB Gaming Condenser

Tonor USB Gaming is an amazing microphone that we believe no seasoned gamers want to miss out on. It arrives with many innovative and inclusive features that will boost your overall gaming experience, alleviating bothersome hassles often found in other substandard alternatives.
Noise Cancellation
For starters, its active noise-canceling controls are a strong competitive edge for us. Just one press of your finger, and all ambient noises will be reduced to none.
You are allowed to record clean sounds every single time without disturbance – terrific for live streaming or team communication amidst intense battles! Such functions not only suit PlayStation controllers, but also work well with Teamspeak, Skype, Discord, Twitch, and so on.
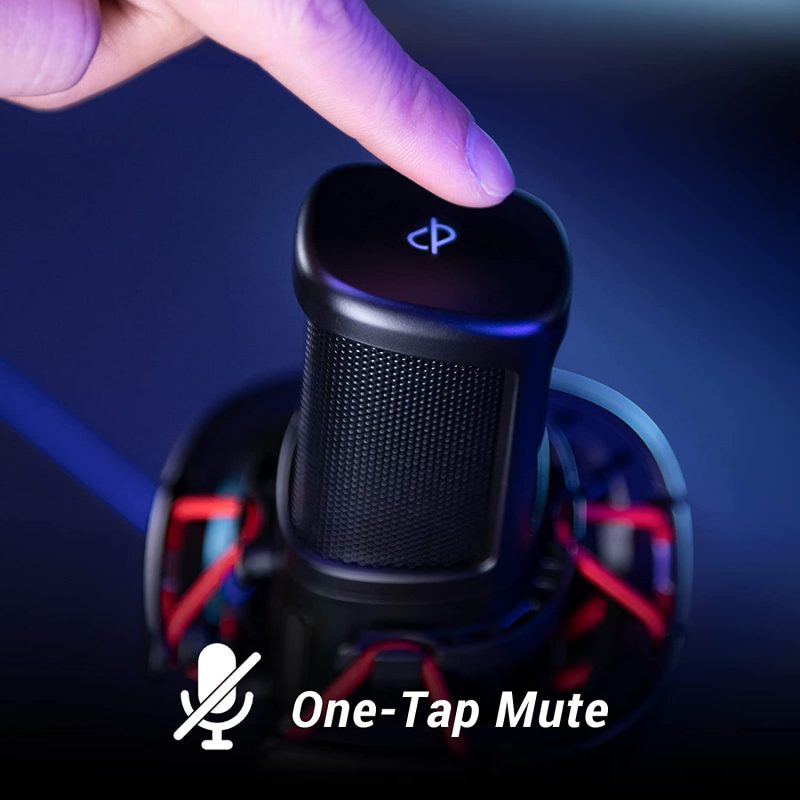
One-Tap Mute

The one-tap mute control serves as another great selling point. Like the noise cancelation system described above, its one-touch interface only requires one press of your fingers to mute or unmute the sounds.
These designs are quite convenient if any unexpected mishaps occur during your live streaming; no one wants to fumble for minutes just to turn the noises off, after all!
Not to mention, that straightforward layout also caters well to first-time gamers or non-tech savvies. How convenient!
High Compatibility
We are also pretty impressed with its broad platform compatibility. Whether it’s an Xbox, Android, Mac, or PC, the mic fits snugly without the need to purchase any extra conversion kit or drivers.
That’s why, aside from your gaming hours, we strongly suggest you adapt it for presentations, meetings, video recordings, and more! With so many capabilities in one single purchase, Tonor is indeed a tough rival to beat when it comes to money-saving.
Real-time Monitor
To seal the deal, customers can revise and evaluate their recorded contents in real-time, which lends them total control over their clips!
We bet gamers who love to share their experience via Youtube or TikTok videos will fall head over heels for this feature, as they can optimize the sound qualities with barely any effort.
Conclusion
This article has discussed in detail how to set up and test microphones in Playstation. The steps are pretty straightforward and might seem insignificant at first glance. However, they help ensure your mics encounter no technical or compatibility issues on the run, fostering smooth gaming from beginning to end!
But first things first, a high-quality mic is the prerequisite for your seamless playing time. And Tonor USB Gaming stands second to none in this regard.
Do not hesitate to reach out if you still struggle with certain aspects. We are always glad to lend a helping hand!

Taylor is a freelance SEO copywriter and blogger. His areas of expertise include technology, pop culture, and marketing.


