We are going to explain what it is and how to configure the private folder of Google Photos. This new function has already begun to reach Pixel mobiles starting with Pixel 3, and in the coming months, it will gradually get other devices that Please use the Google Photo app. It is a folder in which to save all those photos that you do not want to delete, but that you do not wish to appear in Google Photos and anyone can see them.
Therefore, it is a folder in which you will be able to save the photos that for one reason or another, you consider sensitive. To access the folder you will need a PIN or a biometric system such as a fingerprint to identify yourself. In this way, Google tries to ensure that only you have access to the content you store on this site.
What is the private folder of Google Photos?
It is common in file management applications to have a private folder option, a place where you can hide files that you do not want to appear in plain sight, and that remain hidden from the main screen of the application. And Google has decided to implement this tool within its photo management application.
All your photos from Google Photos appear in the index, under the Photos tab. But with this new tool, you’ll be able to hide some photos from showing up in the Photos tab, and they’ll be buried and hidden in a folder that isn’t even visible in the Library tab, but hidden inside the Utilities screen.
In addition to being hidden in this section, to view the photos in this folder you need to verify your identity every time you enter, either using a PIN code or the biometric system that your mobile has, such as fingerprint unlocking.
You will be able to move all the photos and videos you want within the private folder, using the two systems that we are going to explain in this article. Also, when you’re browsing the files you have in the private folder, you’ll have the option to move them back to the main photos section of the app.
Finally, tells you that inside the private folder, you won’t even be able to take screenshots, a method with which the application tries to help you maintain the privacy of the content you have inside. In addition, the elements that are inside cannot be shared or included in the backup copies that Google Photos makes of the content that you have inside. Other apps won’t be able to access it either.
How to configure the private folder of Google Photos
To configure the private folder of Google Photos, you have to remember that if you do not have a Pixel, you will have to wait a few weeks or months until you have it implemented. When you already have it, enter the Library tab (1) within the Google Photos app. Once inside, click on the Utilities section (2) to access the special functions of the application.
Once inside the Utilities section, you may have a private folder banner at the top. But the rest of the time, you have to go down to the Organize library section and click on the Private folder option that will appear with the icon of a lock.
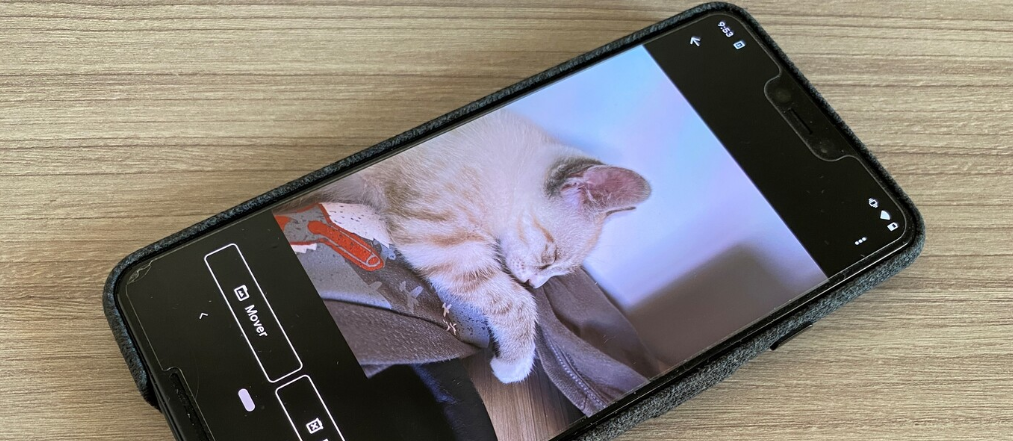
As we have told you, within the private folder you will not be able to take screenshots, so we have used the camera of another mobile for the captures. The first time you enter the Private Folder, you will see a description screen, and you will have to click on the Configure Private Folder button to configure it the first time.
Now, all you have to do is set the method to unlock access to the Private Folder. By default, Google Photos will suggest you use the same method you use to unlock the screen, in my case the fingerprint sensor. However, you will also have a button to use a PIN instead. Here, keep in mind that every time you want to enter the Private Folder you will have to unlock it, so it is best to use the method that is most comfortable for you.
How to move photos to the Private Folder
There are two methods to move your photos within the Private Folder. The first is from the Photos screen in Google Photos. Here, enter the photo you want to hide, and once you are inside the full-screen photo interface, swipe the photo up to show its information.
When you move the photo up, you will access a screen where its details appear. But between the photo and its information, you will also have a row with several options. In this row, click on the Move to Private Folder option that will appear with a lock icon.
A screen will appear informing you of what happens with the photos that you save in the Private Folder, and that asks you to confirm that you want to take it there. To confirm it, simply click on the Move button. And that’s it, your photo will be saved in this folder, and you will no longer see it on the main screen.
You can also move photos to the Private Folder from within the Private Folder. For this, what you have to do is click on the Move Elements button, which will appear at the top right with the icon of a photo and the plus symbol. This will take you to a screen where you simply select the photos you want to move.

Sharlene Meriel is an avid gamer with a knack for technology. He has been writing about the latest technologies for the past 5 years. His contribution in technology journalism has been noteworthy. He is also a day trader with interest in the Forex market.


