Today we will teach you how to create GIFs with your mobile. We will do it with a web tool, so you will not need any third-party application installed. Despite this, you can create an animated image from a photograph or a short video you make with your mobile phone.
GIFs have been with us since the dawn of the Internet and have evolved the same way we use the network. Now they are living a second youth on social networks, so it never hurts to be able to create new ones without having to use the PC. After all, it is the smartphone that you always carry with you everywhere.
Create a GIF with your mobile browser
First, you must record a video or take a photo with your mobile camera. The web app will let you create a recording right then, but sometimes it fails, and it’s better to have it created beforehand. If you make a video, try not to make it very long because if so, it could take too long to load, or it could crash.

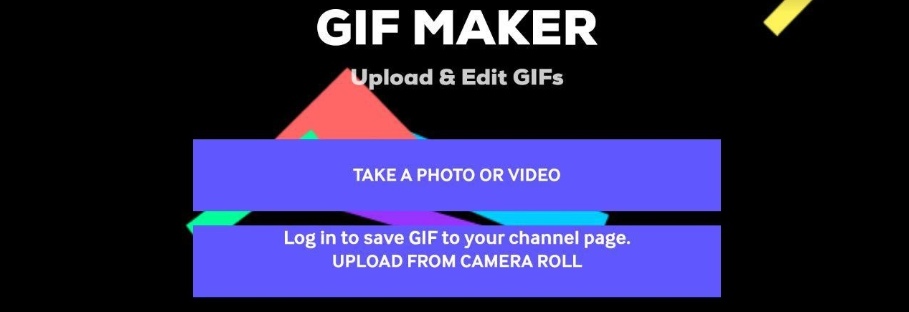
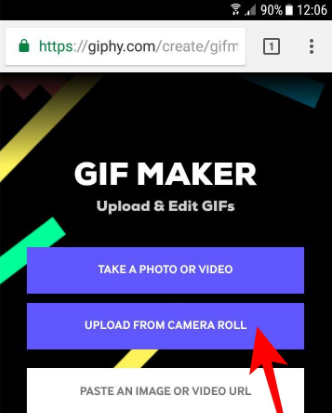
Now go to the address giphy.com/create/gifmaker with your mobile. It is a tool to create GIFs from Giphy, the world’s largest portal for this type of image, and it has been adapted to mobile phones. In it, click on Upload from the camera roll to upload a video or image you have already taken. The file explorer will open, where you must choose the video or image you want to use.
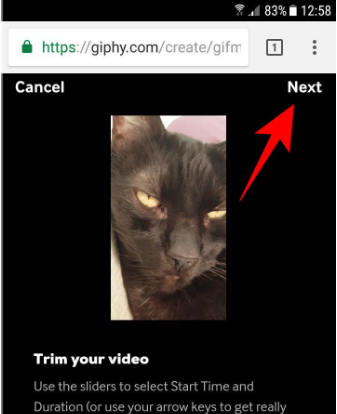
After a few seconds of loading the video, you will reach a screen where you have to configure the GIF. Move the Duration bar (1) to choose the duration of the GIF, and move the Start Time bar (2) to determine at what point in the video the GIF starts. This is important to capture the exact moment in the video that you want the GIF to loop.

Once you have finished, press the Next button at the top right of the web to go to the next step: adding stickers, letters, and other accessories to the GIF. Remember that if you create the GIF from a photo, you will not go directly to that next step without setting the timings.
On this next screen, in the lower right part, you have a series of controls to put additions to the GIF. For example, you can put text, draw on it, add labels or other GIFs above it, and apply filters. Once you finish doing it, at the top right, you have the Next button again to continue.
You will arrive at the screen before uploading the video, where you can add the source from where you got it or put tags so that it can be located by others. Once you have it to your liking, click on Upload to Giphy to start uploading it, which can take a few seconds.
And that’s it; you will go to a screen where the GIF will be previewed. It holds your finger on the GIF to open the sharing options. In them, you can download it or share the image through another application, and if you use Open in a new tab, the GIF will open in a tab with the URL that you can use to share it elsewhere.
You can also use third-party videos
By the way, with this website, you can also create GIFs from YouTube videos or other platforms from your mobile. To do this, go to one of those videos and copy its web address, and then on the Giphy website, click on Paste an image or video URL to start the same process from that image or video you found on another website.


