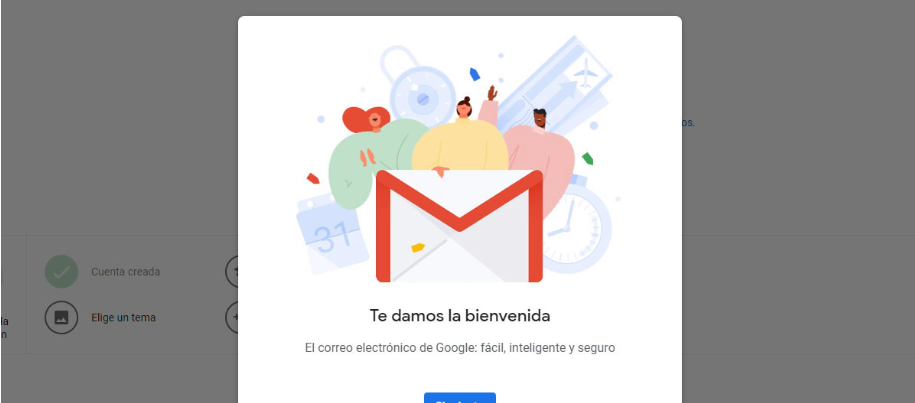
A Gmail account is an entry point not to Google email but to the rest of the company’s services, including YouTube, Google Photos, and Google Maps. Today we explain how to create a new Gmail account step by step.
Despite what it might seem, creating a Gmail account is very simple, and you hardly need to provide personal information. We will guide you through the entire process to register your first Gmail account (or the second or third since nothing prevents you from creating more than one).
How to create a new Gmail account
The starting point for creating a new Gmail account is to open the service’s web page to start the registration process. To do this, you must visit this link and click Create an account (available twice above and in the text).
Then the four-part process begins before you can start enjoying your new email account:
- Enter personal information.
- Verify your phone number.
- Add additional personal information.
- Accept the privacy policy.
Basic personal dataThe first thing you must do is enter some basic personal information before you can continue. Also, you must choose the email address you want to use and your password.
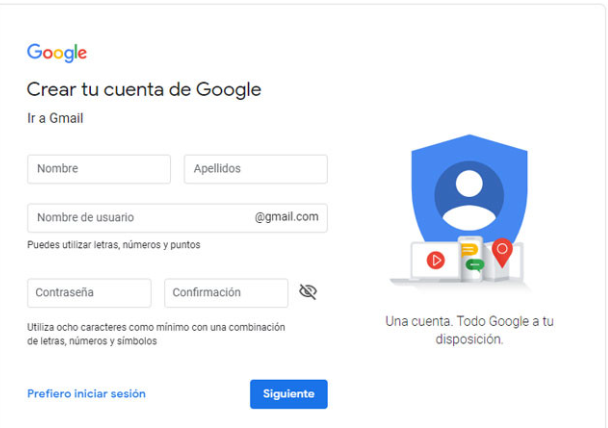
These are the data that you must enter in this first step to continue the process of registering a new Gmail email account:
- Name and surnames. Your name and last name. They will be shown as the sender in the messages you send.
- Username. This will be your email address. It must be unique (no one has already chosen it) and can only contain letters, numbers, and periods.
- Password. The password to log in to your email account and other Google services. It must have at least eight characters, combining letters, numbers, and symbols. You will have to enter it twice.
Verification by phone number after clicking Next in the previous section, you may see a screen to verify your phone number. It’s not a mandatory process for all accounts but seems triggered by Google only under some circumstances. You must enter your mobile phone number to continue (including the country code) in this box.
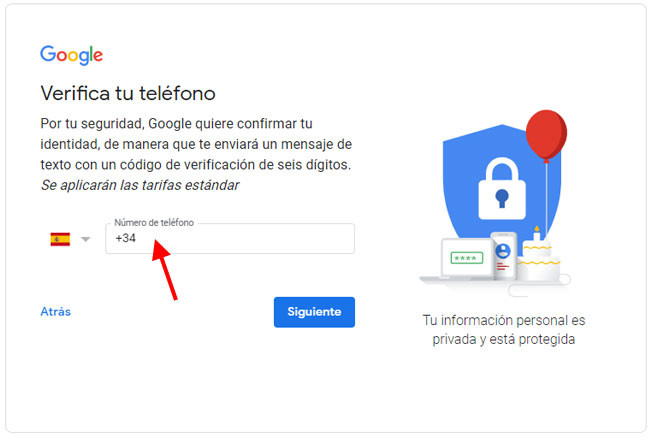
Pressing Next will send you a text message to the number you chose. This message includes a code that starts like G-123456. You must enter only the numbers in the form to verify that this phone number belongs to you. Press Verify.
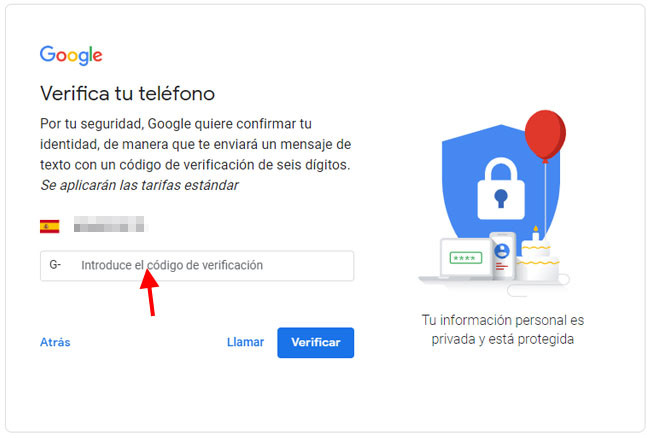
Please note that this process is only for verifying your account and that you are not a robot or automated account creation system. This phone number is not added to your profile unless you include it in the next step.
For more personal and recovery dataNow, it’s time to provide a few additional personal details. Above all, you can include your phone number (optional) to be able to recover your account if you forget the password. The number is not shown to other people.
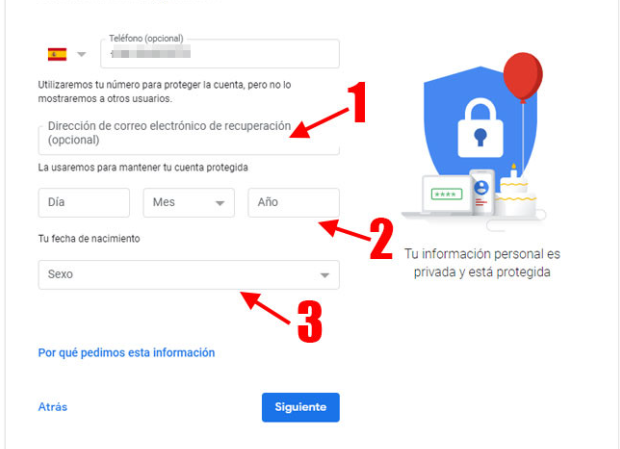
Below are other details that you can fill in. The recovery email address (1) is also optional and is used so that you can recover your account if you forget your password. You must necessarily establish your date of birth (2) and the Sex section, although one of the available options is I prefer not to say it.
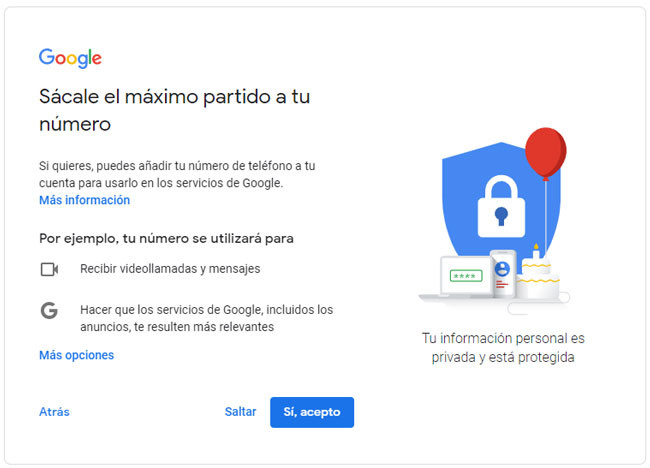
Press Next and Google again ask for permission to use your phone number. While in the previous section, you could provide it to recover the account, you are now asked to include it in your account to associate it with other services, such as receiving video calls and messages or personalizing your advertising. If yes, click Yes; I agree. If not, click Skip.
The privacy policyWe are almost done, but there is one last step you should consider the privacy policy. You must accept it to continue, although there are several sections that you can configure if you do not agree with the default configuration.
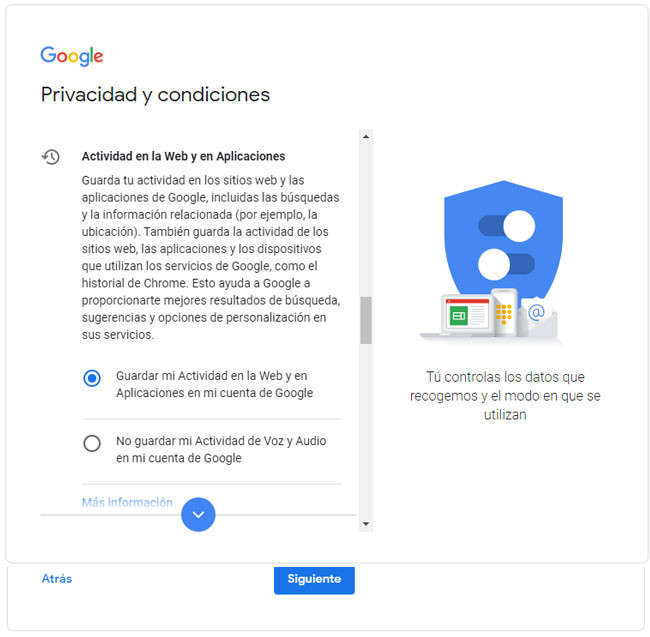
Displaying the privacy information, you will see several sections where you can choose the privacy settings that best suit you. They are the following:
- Activity on the web and in applications. You can save your web and app activity (like browser history, but more scope) to your Google account.
- Ad Personalization. You can choose whether to display personalized ads for your profile or not. If you choose not to, you will still see ads, but they will be more generic.
- YouTube search history. Here you can choose whether you want to save YouTube search history – that is, the videos you search for on YouTube – to your Google account.
- YouTube view history. Like the above, you can choose if you want to save YouTube watch history to your account. That is the list of all the videos you watch on YouTube with your Google account.
- Location history. Here you can choose if you want Google to save a detailed map of the places you are, using the mobile sensors and other indicators. This is used for your visualization to improve map searches, scroll paths, and others.
- Voice and audio activity. Finally, you can choose if you want Google to save a record with your voice every time you use a voice recognition service, such as when using Google Assistant or voice typing.
After accepting the privacy policy, you can start using your new Google account. The first thing that will open after pressing I accept is the Gmail inbox.

Sharlene Meriel is an avid gamer with a knack for technology. He has been writing about the latest technologies for the past 5 years. His contribution in technology journalism has been noteworthy. He is also a day trader with interest in the Forex market.


![How to Watch UFC 303 Live Stream Free [Updated 2024] UFC 259 Live Stream Free](https://techsmartest.com/wp-content/uploads/2022/03/UFC-259-Live-Stream-Free-100x70.jpg)

