GarageBand is a digital audio workstation developed by Apple Inc. It is available on all iOS devices. It is a very helpful tool for all music producers, be it someone professional or amateur. Owing to its extremely user-friendly interface, learning to use GarageBand is something that can be easily grasped by someone who is not tech-savvy, per se. GarageBand offers a wide variety of features, sound effects, and audio manipulation and editing options. Anyone who has the basic ideas of how to split a track, cut, and merge multiple tracks can in no time start producing their own tracks.
GarageBand has almost all necessary instruments like guitar, bass, synthesizer, piano, drums, etc. It has some 250 preinstalled loops for those users who wish to work with pre-recorded tracks, and they are so good that artists like Rihanna have used them in their massively popular songs. GarageBand also lets its users record sounds with their microphone and import it to the platform. Practically any and every sound can be produced on this platform.
The process of making a basic track on the GarageBand platform is given below:
l Right after the user launches the GarageBand application. They should click on the “New Project “ option if they wish to start creating a new track. If they have already been working on some tracks, they should select the same from the “Existing project” option.
l Once a new project is created, the user must choose the type of track for their current project in the pop-up window that appears.
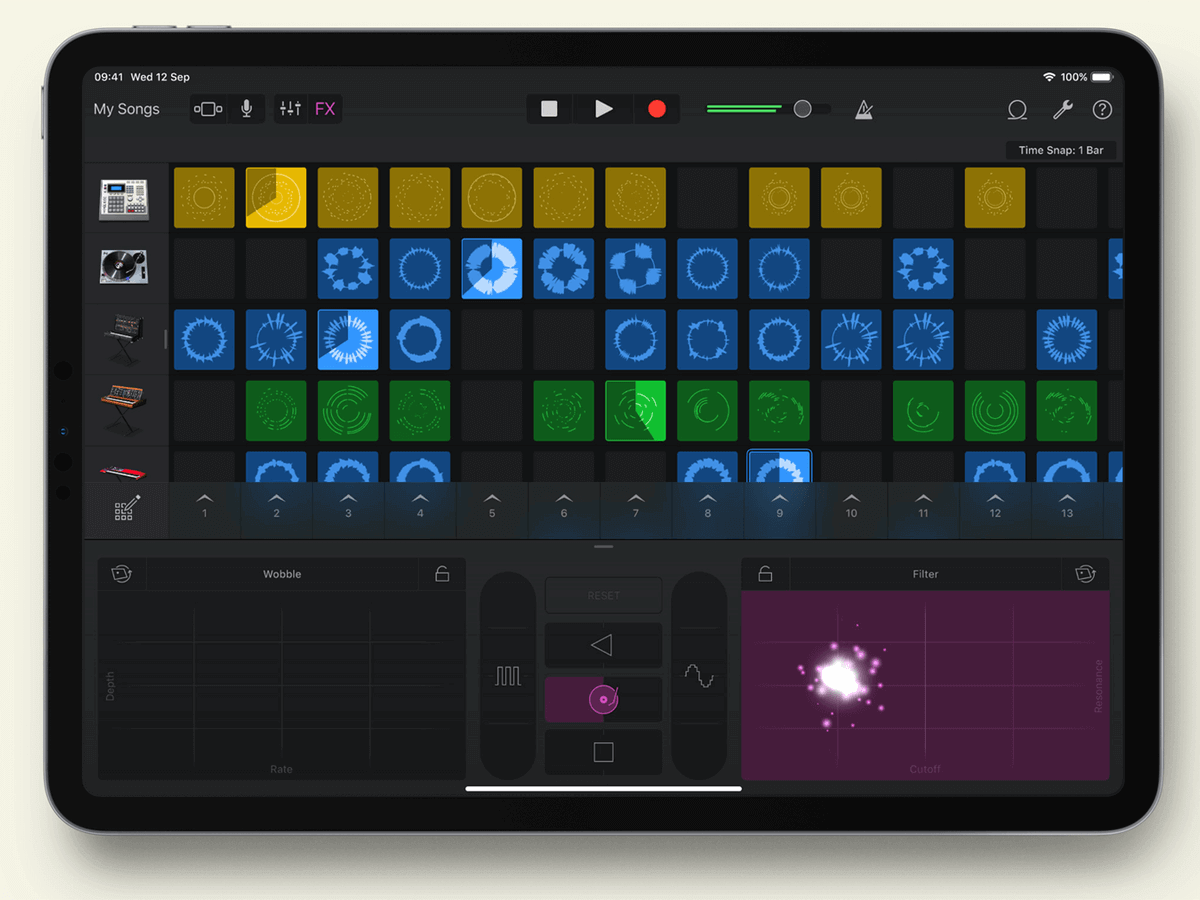
l There are a few track options available:
(a) USB MIDI Keyboard: if one has a MIDI connection and wants to use it to compose tunes, they should select this option.
(b) Record: If one wants to connect a microphone or any other live input to the platform, they should go for this option. If one wants to edit a pre-recorded track on GarageBand, they should go for the same option.
(c) Guitar Track: if one wants to plug in their guitar or bass and record something, they should select this option.
(d) Drummer Track: Choosing this option enables GarageBand’s famous automatic beatmaker, a virtual drummer. This way, the user can make variations in the percussion segment.
l Let us consider making a track using the MIDI (Software Instrument) option. One need not own a MIDI instrument. With the Musical Typing option, they can play using the keyboard of their device.
l After selecting the said option, the GarageBand music library opens up. The column on the left shows a list of all the available instruments. This list will include piano, guitars, percussion, and several others.
l The track display takes up the majority of the screen space. There is a mini mixer at the bottom of the screen. The top of the screen has buttons to play, pause, and record.
l Once the user is ready to start making the track. They should click on the “Record” button. They play a simple chord progression of 4 chords on any scale, as per the user’s choice. They can either play on a MIDI instrument or a virtual piano (available on iPhone and iPad), or the user can even use their keyboard to play. The metronome will start ticking right when the user clicks the record button. The user can easily set the time signature.
l To open the Piano Roll Editor, the user should click on the scissor button. To start and stop the track, the spacebar can be clicked. To maintain the flow of the track, the user may expand the piano notes. The Quantize option comes in handy in this regard, using which the notes conform to a grid and stick to the beat.
l Harmony notes can be created if the user transposes the base note to a higher or lower octave. The chord velocity can be fiddled with using the velocity slider if some notes come off strongly.
l Now, the user can adjust sound settings like Reverb, Treble, Threshold, Ambience, etc., by opening the Smart Control panel.
l Users can add another track or instrument after adjusting the sound settings. If they do not wish to, they can simply export this track.
l Special effects, like making the tone sound psychedelic, can also be added. For this, the Transform pad needs to be used. This pad has eight ready-made effects for each tone. They can be used individually or in combination with others.
l For recording the lead part of the track, a lead guitar can be plugged in, or it can also be played from the MIDI section. After recording, smart controls can be used to master the audio and position it below the bass according to the time scale. The lead portion can also be quantized to match the other tracks better.
l Some vocals may also be added. For this, the user should select the microphone option. Background noises can be minimized using Denoiser, DeHummer, and DeCrackler features. It can be mastered and placed with the other tracks. It can be autotuned if some notes are off-scale.
l After syncing all the tracks together, the user should click on Export. Normally tracks are rendered in .mp3 format if not selected otherwise by the user.
This is how a basic track or music can be created and produced by using GarageBand.

A tech-savvy writer with a knack for finding the latest technology in the market, this is what describes John Carter. With more than 8 years of experience as a journalist, John graduated as an engineer and ventured soon into the world of online journalism. His interest includes gadget reviews, decoding OS errors, hunting information on the latest technology, and so on.


")


")

