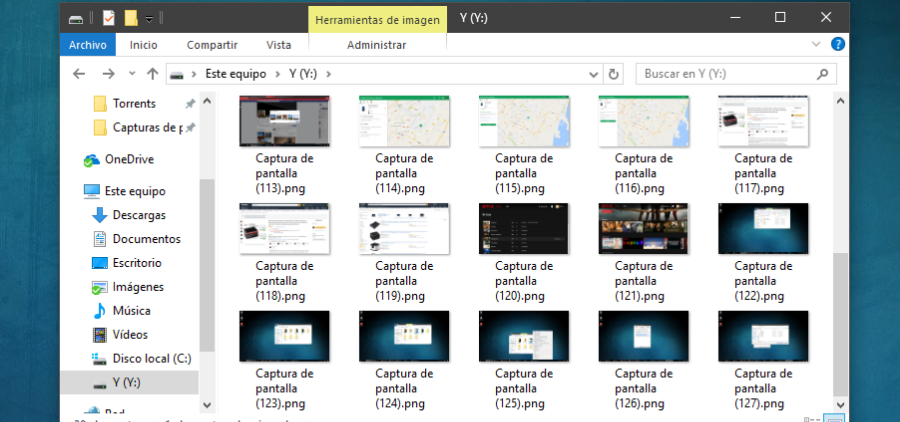
We are going to explain how to take a quick screenshot in Windows without having to use applications like Paint. There are several keyboard shortcuts to be able to create screenshots, but if you have reached this article it is because you already know that most of them save the screenshot on the clipboard, and then you have to use external applications to paste and save them.
However, there is a much easier way to do it all, and we are going to focus on it. I already warned you that it is a keyboard shortcut that you are going to have to memorize, but once you do it, everything will be easier.
Two shortcuts to rule them all
If you press the Windows key and Print Screen at the same time, you’ll be taking a screenshot that doesn’t stay on the clipboard, but instead is automatically saved to your default folder for screenshots. It is a useful shortcut especially when you are going to work with several captures and you do not want to have to paste them first in an image editor.
Of course, one thing that you have to be clear about is that this shortcut captures everything that is seen on the screen. This means that if you want to capture only the active window or a portion of the screen you will have to resort to the rest of the shortcuts, but this is the only one that saves the image automatically without having to do anything else.
The capture will be saved in PNG format, so if you need to use it in another format you will have to go through another editor. Also, if you need the capture to only show a specific window or a part of the screen, you will have to go through the editor.
The screenshot will be saved in the Screenshots folder that you will find in Images on your computer, that is, once you press the shortcut you only have to go there to see the screenshot and take it wherever you want. If you are not convinced by that location, we have already explained how you can change it.
You can also press Windows + Alt + Print Screen at the same time, a second shortcut that will do the same as the previous one, but instead of taking a screenshot of the entire screen, you will only have the image of the window or application that you have active. Thus, if you don’t want to take a screenshot of the entire desktop, you won’t have to go through Paint to cut out just one application.
Change the location of the screenshots
The first thing you have to do is go to the current screenshots folder. To do this, open the Windows File Explorer, and in the left column, you will see a series of shortcuts in the Quick Launch. Click on the Images file, because within this folder is where the captures folder is.
When you are inside the images folder right click on the Screenshots folder. A drop-down menu will appear, in it you have to choose the Properties option to start managing it.
Once you are in the properties panel, click on the Location option from the top menu. You will go to a screen in which you will be marked where the captures are now saved, and you will have the option Restore defaults to go to the default location, Move to change the location by moving the content and the end destination so that the current folder chosen is opened. Click on the Move option.
Doing so will open a dialog with an explorer. In it, you have to choose the new folder in which you want to save the screenshots. Select it by clicking on it and pressing the Select folder button. Windows will ask you to confirm the action, and when you do, from now on your screenshots will go where you chose.

Sharlene Meriel is an avid gamer with a knack for technology. He has been writing about the latest technologies for the past 5 years. His contribution in technology journalism has been noteworthy. He is also a day trader with interest in the Forex market.


![How to Watch UFC 295 Live Stream Free [Updated 2023] UFC 259 Live Stream Free](https://techsmartest.com/wp-content/uploads/2022/03/UFC-259-Live-Stream-Free-218x150.jpg)


![How to Watch UFC 295 Live Stream Free [Updated 2023] UFC 259 Live Stream Free](https://techsmartest.com/wp-content/uploads/2022/03/UFC-259-Live-Stream-Free-100x70.jpg)
![How to Access UFC 296 Live Stream Free [Updated 2023] UFC 260 Live Stream Free](https://techsmartest.com/wp-content/uploads/2022/03/UFC-260-Live-Stream-Free-100x70.jpg)


