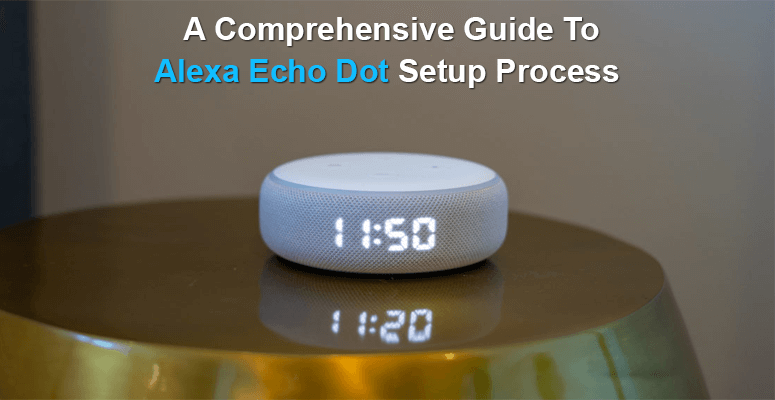
The Amazon Echo Dot is one of the smart speakers you can purchase at the best value; it’s one of the least expensive ways to get Alexa into your home at $49 (and normally priced lower). Given its small size, if you want a small smart speaker for your bedroom, lab, or kitchen, it delivers great audio.
There’s never been a better time to buy an Echo or add one to your growing smart home set, with the Echo range getting bigger all the time and the built-in Alexa assistant improving and getting smarter as time passes.
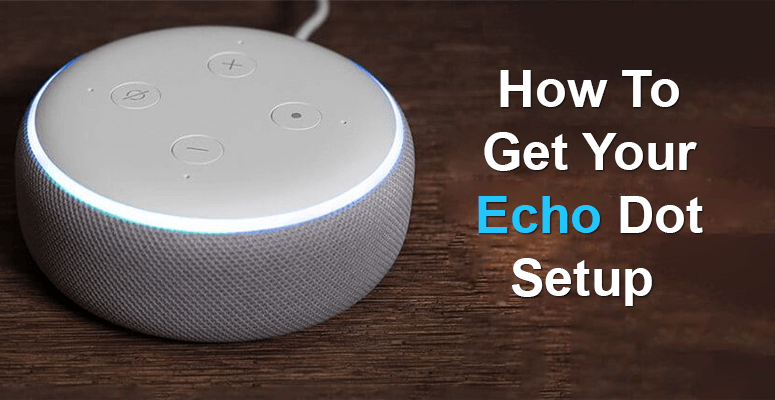
But you will need to set it up first before you start using the Echo Dot and all of the best Alexa abilities. Fortunately, even though you are new to the world of smart home technology, the whole process only takes a few minutes. Here’s how you get your Echo Dot set up.
Step 1: Get What You Need
Of course, you need an Echo to get started and whatever power adapter comes with it. These speakers do not run on batteries, so make sure you have the right power cable (and not some cheap replacement) ready and waiting.
You’ll need a phone or tablet (Android or iOS) ready for the Alexa app installation on the software side. Since this is an Amazon product, if you have one at home, you can use an Amazon Fire tablet to customize your Echo for its first use.
Step 2: The Alexa App
It feels almost like a standalone system when your Echo is up and running, but to get started, we need to use a phone or tablet to tell it what to do … Literally, until we start asking them what to do. Head over to the app store on your favorite device-the App Store on an iPhone, the Google Play Store on Android, and the Amazon App store on Fire devices.
Find and download the official Amazon Alexa app once in the shop, which shouldn’t be too hard to find.
Step 3: Amazon Echo Plug-In
Now that we have the requisite software, it’s time to set up Amazon Echo hardware itself. To find the power jack, take the speaker and turn it over, then take the Echo’s power adapter and plug it into the Echo speaker’s power jack.
Finally, grab the other end of the power adapter and plug it into the wall. Excellent task! Your Amazon Echo now has control and, when it configures itself, should start glowing. A 3.5 mm output is also included in some Echo models, but this is optional.
Step 4: Wait To Initialize It
There you’re almost! You will have to wait a couple of seconds for it to initialize until your Echo is linked to the mains. For a few seconds, the light ring will turn blue, then move to orange and then play a brief audio greeting. The Amazon Echo is ready for the final setup process at this stage.
Step 5: Open The App
Next, open the Alexa app that you downloaded on your phone or tablet earlier, then tap the bottom-right cog-shaped icon to go to Settings for the next configuration step. To start the Wi-Fi link process, select ‘Set up a new system.’ You now need to teach Echo how to connect to your home Wi-Fi so that it can get online on its own in the future.
Step 6: Choose Your Device
Pick the Amazon Echo speaker that you want to customize. We presume that you are setting up a full-size Amazon Echo for this guide, but these instructions would also work just as well if you are setting up any of the four out of the Echo Plus, mini Echo Dot, or Amazon Tap as the same app operates them. Select the correct unit, and from the next tab, select the correct language.
If you want it to function, your Echo will have to be linked to the internet.
Step 7: Linking To Wi-Fi
To begin the setup process and get connected, select ‘Connect to Wi-Fi’ from the next page: First, the instructions ask you to verify that the device is currently showing an orange ring. If not, to bring the system into setup mode, you will first have to hold the ‘action button’ for five seconds. You’ll need to hop out of the Alexa app and onto your phone’s settings menu with that done.
Go to the settings for Wi-Fi. Switch on Wi-Fi (if it is not already on), then pick the Amazon Echo system from the access point list. The name of the Echo should begin with the word “Amazon.” Once you’re paired, return to the Alexa app.
Now, the Alexa app should state that it is related to the Echo. Tap ‘Continue,’ then pick yours from the list, then enter your password for Wi-Fi. (Don’t you remember? Your password for entry is most likely written on your router’s sticker.)
If the password is typed in, tap ‘Connect’ in the app. It might take a few moments for the system to connect, depending on your home’s Wi-Fi speed, but once it’s done, you should be taken back to the settings menu, with your Amazon Echo now classified as online. The light ring should shut down on the system itself.
Step 8: Wouldn’t You Like To Say, “Alexa”? Modify It
By default, when the word “Alexa” is heard, your Amazon Echo will be enabled,
You’re done!
Congratulations, now your Amazon Echo is completely programmed, wired to your Wi-Fi, and ready for you to start running errands, automating tasks, and responding to useless trivia.
You can try a few basic commands to get started if you want a test to make sure it’s working: try saying your wake word, followed by “hello.” If all works as planned, then you can say ‘hello’ back to your Amazon Echo. Easy.
Do not panic if you’re having issues. Try giving it a factory reset if Echo simply won’t hook up: when the unit is turned on, click and hold the microphone off and volume down buttons simultaneously for 20 seconds to do this.
There are also pinhole reset slots on some Alexa products, which just need to be pushed in with a paper clip or SIM removal tool before the LED light color changes.

Taylor is a freelance SEO copywriter and blogger. His areas of expertise include technology, pop culture, and marketing.


")


")

