- Learn how to install Android ADB and Fastboot drivers on your Windows, Linux, or macOS computer.
If you have been immersed in the extension of advanced Android for a long time, you are probably already familiar with concepts such as root and ROMs or the bootloader. And if so, you probably know that when performing the vast majority of operations related to modifying the system, an element known as ADB drivers is required.

Since installing these drivers on a computer can be especially tedious, we wanted to prepare this detailed installation and configuration guide with the steps to follow explained most simply so that you can go to it every time. Change your computer or need to reinstall the aforementioned drivers.
First of all, what are ADB drivers?

Google itself stated in the official Android Developers page to which the term refers ADB or Android Debug Bridge. It is a tool based on the command line, which offers the possibility of communicating with the Android device from the computer.
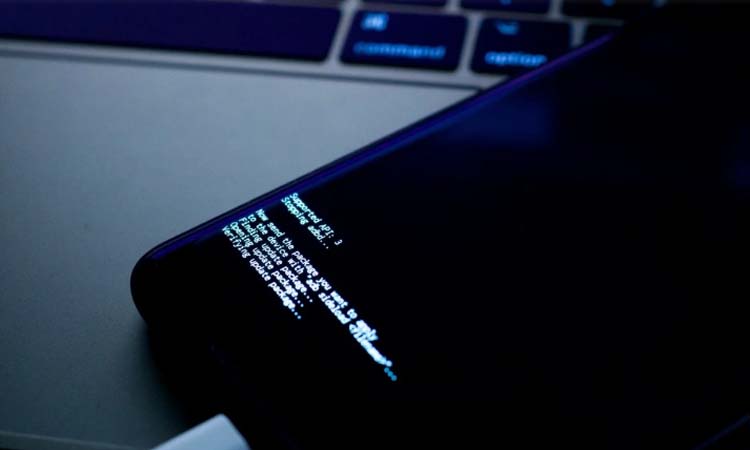
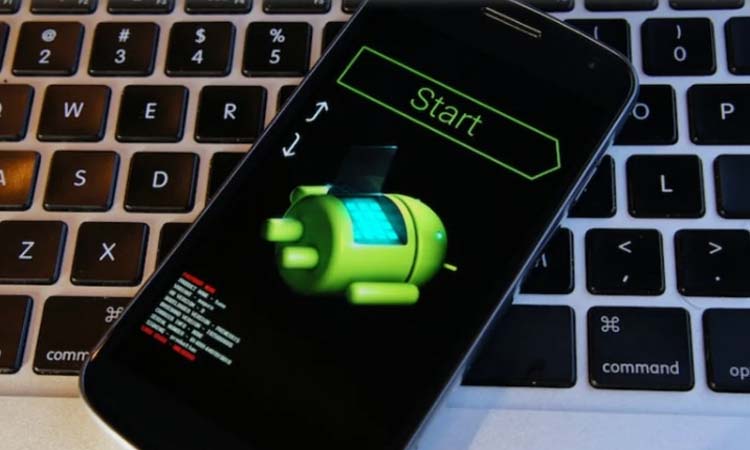
In this way, advanced operations such as locking or unlocking the boot loader, installing updates manually, or modifying different system elements can be carried out without the need for superuser permissions.
At times we have talked about applications that require advanced permissions that need to be granted through ADB. This is the case of those apps that allow you to hide the virtual buttons, those that allow you to modify the type of navigation of the system, and even to carry out operations such as the removal of bloatware and system apps from a device. We also collected some of the most useful commands that can be used through ADB.
How to configure or install ADB on your computer

But to be able to use ADB on a computer, it is necessary to install the corresponding drivers that allow the equipment to connect with the Android device. Depending on the platform on which the computer is based, the process will be somewhat different.
On windows
The process to use ADB in Windows is simple since it is not necessary to install the drivers. Instead, it will be enough to download the necessary files and run the tasks directly in the folder where the files were downloaded.
- Download the package with the drivers and save it in any folder on your computer.
- Extract the contents of the ZIP downloaded in the folder that you are going to use to host the drivers –for example, C: AndroidADB–.
- Go to the folder where you have unzipped the previous file and open a command window by pressing Shift + Right Click and “Open command window / PowerShell here.”
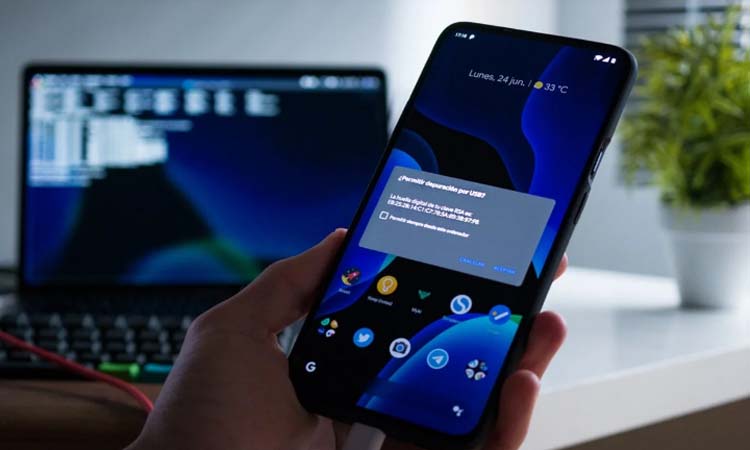
- With the Android device connected to the computer and USB debugging enabled from the developer settings, run the “ADB devices” command.
That is all. When performing the last step, a notice should appear on your mobile that you must accept to perform operations through ADB. In addition, the device identifier will appear in the command window in case everything has gone well.
Latest ADB drivers for Windows
However, there is a way to make life even easier when using ADB in Windows so that it is not necessary to go to the folder where the files are hosted. However, the command window can be run anywhere and continue using ADB operations. This process is not mandatory, although it makes access to the ADB tools quite easy.
- Go to the file explorer and go to “This computer.”
- In any space of the explorer window, right-click and open “Properties.”
- In the sidebar, go to “Advanced system settings,” and in the “Advanced options” tab, click the “Environment variables” button.
- Select the variable named “Path” and double-click on it.
- Click on a space in the list and press the “Browse” button. Now go to the folder where the ADB files are housed and click on “OK.”
In this way, the next time you want to perform any operation through ADB, you will not need to go to the folder where the files are, but you will open the command window anywhere and execute the commands in it.
On macOS and Linux
If you have a computer with macOS or Linux, the process is somewhat different from that that must be followed in Windows, but not more complicated.
- Download the package with the drivers and save it in any folder on your computer.
- Extract the contents of the downloaded ZIP in an easily accessible path.
- Open Terminal and go to the folder where you have extracted the files. To do this, you must use the following command, modifying the path that corresponds to your computer: cd / Users / Andro4all / Desktop / ADB.
- With the Android device connected to the computer and USB debugging enabled from the developer settings, run the “ADB devices” command.
As in the previous process, a notice should now appear on the mobile screen that it will be necessary to accept, and later the identification number of the Android terminal will appear in the command window, confirming that the process has been carried out correctly.
On Debian, Fedora, and SUSE
Finally, if you use any Linux software based on Debian, Fedora, or SUSE on your computer, you should know that there is an even easier way to install the ADB drivers on your computer.
In Debian-based systems, open a Terminal instance and run the command “Sudo apt-get install ADB” –without the quotes– and enter the root password. For its part, to carry out the process in Fedora or SUSE, the command will be “Sudo yum install android-tools.”
As you have seen, configuring the ADB drivers is not too complex if the indicated steps are followed. It is also possible to use tools that carry out this process automatically, such as Universal ADB Drivers. Whichever method you choose, it is undoubtedly advisable to always keep the ADB drivers ready if it is time to resort to them to perform any advanced operation on an Android device.

Sharlene Meriel is an avid gamer with a knack for technology. He has been writing about the latest technologies for the past 5 years. His contribution in technology journalism has been noteworthy. He is also a day trader with interest in the Forex market.


