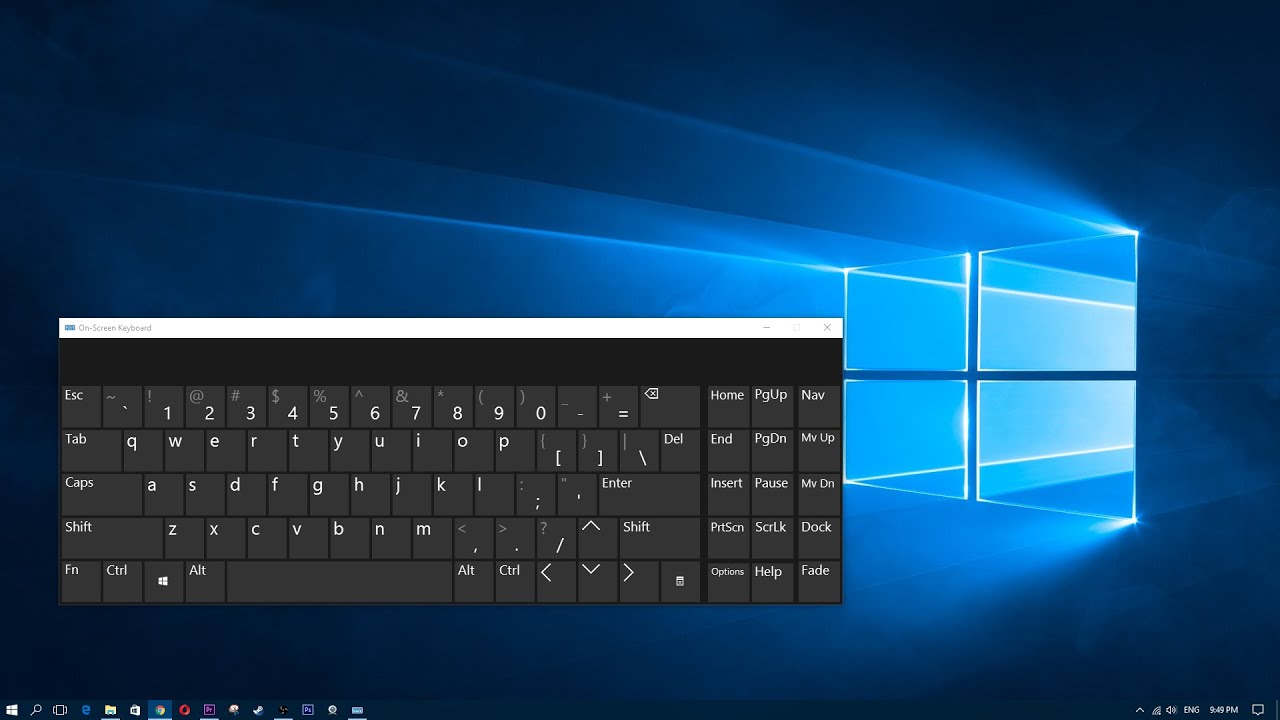
We are going to explain how to change the keyboard layout in Windows 10 and Windows 11 so that you can put it in Spanish. Sometimes, either due to an error or a bad configuration of the operating system, you may notice that the Windows keys are not configured correctly, that you press the ñ button and another symbol appears because it has a different layout even though you have a Spanish keyboard. There are tricks to writing the ñ, but nothing like configuring the keyboard correctly.

The process to change the Windows keyboard is simple. We are going to guide you step by step, although maintaining Spanish as the language of the operating system. We are going to start by giving you a complete explanation of Windows 10, and then at the end, we will add a summary of how it is also done in Windows 11.
Change the keyboard layout to Spanish
The first thing you have to do is enter Windows Settings. To do this, you have to click on the button with the gear icon that you will find both in the left column of the start menu and the lower options of the notification panel.
Once the configuration menu opens, you have to click on the Time and Language option. These settings are where you can change everything from the date of your device to everything related to the language you are using, both in the operating system itself and on the keyboard.
Once you are in the Time and Language menu of Windows settings, click on the Language section (1) that will appear third in the column on the left. Once inside this section, go down to the Preferred Languages section and click on the Add a Preferred Language button (2) in case you don’t see that Spanish is there.
A new window will open called Choose a language to install. In it, use the search engine to locate and select Spanish, and then press the Next button. Here keep in mind that there are different types of Spanish, so you can look for one adapted to your specific country in case there are different distributions.
You will go to a second step in which you must check the Set as display language box to give it visibility in favorites. Next, click on the Install button that you will see at the bottom of the screen.
When a language is in the favorites list, when you select it, icons with arrows will appear to organize it according to your preferences, and you can put it at the top to give it more priority when writing or using your voice.
Once you have the Spanish language installed, since you have two languages, a language selection button will appear on the taskbar, specifically on the right side next to the clock. When you click on that button, a window will open in which you can select Spanish as the keyboard language, and by doing so you will immediately switch to the Spanish distribution.
In Windows 11 it is the same
The way to proceed is the same in Windows 11. First, you have to enter the settings, and in the left column go to the Time and Language section. Inside here, click on the Language and region option that you will have.
Inside, now you have to click on the Add language option that will appear in Preferred languages. Once you do it, choose Spanish and install it, and when you do it from the taskbar you will be able to change the keyboard language just as you have done in Windows 10.

Sharlene Meriel is an avid gamer with a knack for technology. He has been writing about the latest technologies for the past 5 years. His contribution in technology journalism has been noteworthy. He is also a day trader with interest in the Forex market.


