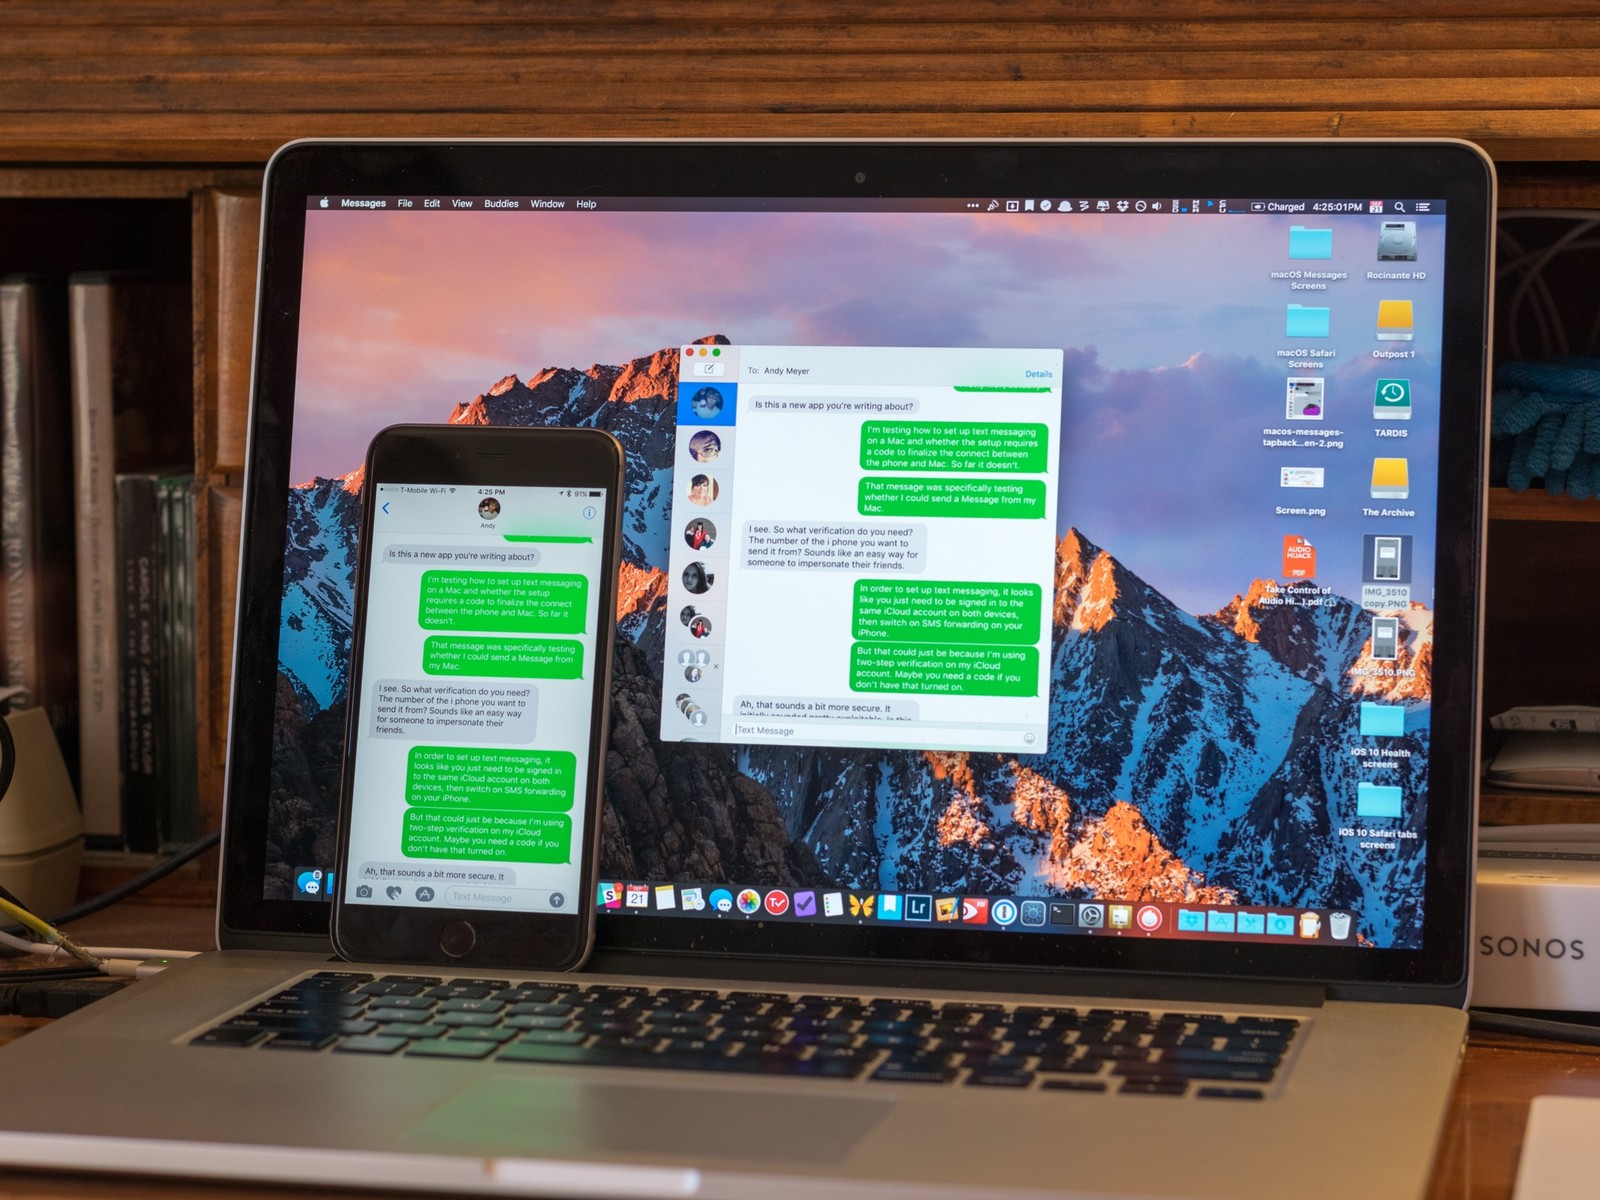
Apple Inc. is a globally recognized brand and a pacesetter as far as technological innovations are concerned. From its sleek quality hardware designs to smart messaging apps like Apple’s iMessage. iMessage allows Apple Users to communicate without incurring charges from network providers. One outstanding feature is the ability to communicate from any gadget within your iCloud account, including Mac. Now, how smart is that!
Despite this unlimited form of communication, sometimes the notifications can be quite overwhelming. More so when you have multiple Apple devices all simultaneously synchronizing your iMessage, truth be told this can be a distraction especially when you are trying to be productive with the trickling in messages. So how do you turn off these messages on your MacBook?
Well, more on that is soon to follow along with other twerks on how to minimize distractions around your workspace while working on your MacBook.
How to turn off notifications
Turning off notifications should be given number one priority when it comes to minimizing distractions with MacBook messages. This will allow you to continue sending and receiving messages without the continuous buzzing of your gadgets. To do this;
- Click on the Apple menu.
- Select system preferences
- Chose the Notifications pane and click on messages, which is on the left-hand sidebar
- Click on “None” and uncheck all the tick boxes.
Deactivating iMessage
You do not have to disable iMessage to halt the many inbound message notifications. The first option you should consider is at least to mute your gadgets so that messages synchronize in the background, silently. If you still find this unfavorable, then, by all means, go ahead and follow the following procedure to deactivate your iMessage.
- First, you’ll have to launch the Messages app on your computer
- Secondly, under Messages menu, select Preferences.
- Navigate to the left-hand pane and click on the account that you would like turned off.
- Once this is done, uncheck the box adjacent to ‘Enable this account.’
You should be all set from receiving messages that show up on your MacBook. You are still at liberty to toggle the checkbox back on if you would like to continue receiving message notifications.
If the notifications nagging is off the charts, you may opt to silence iMessage app for good. This is where you sign out of your iCloud account. Note that this step affects the iMessage app and will not deter you from continual use of the iCloud drive. Signing out of iCloud could come in handy if you intend to sell off or give away your MacBook.
Deleting iMessage Conversations
In Macintosh Operating System (OS), some apps come as defaults, and they can’t just be uninstalled. An example of MacBook’s default app is iMessage. This, however, is not to mean that you can’t perform selective deletion of messages and attachment. One of the most convenient ways is to utilize third-party apps such as CleanMyMac X.
CleanMyMac X provides you with the opportunity to perform a mass selection of the conversations and attachments that you intend to delete then execute the command all in a single click. CleanMyMac X also provides a means of uninstalling third-party apps without leaving behind junk files. Junk files are known to possess threat that may harm your MacBook or consume unreasonable volumes of Hard Disk space.
Signing out of iCloud in Messages
- The first step is to launch Messages
- The second procedure is to select preferences under the Messages menu
- Select the desired account that you would love to sign out from in the left-hand panel
- Proceed to choose sign-out adjacent to your Apple ID.
- This final stage will pop up a dialogue box that you should confirm by selecting ‘Sign-out.’
As we have already hinted, sometimes signing out completely might not be the best idea. Otherwise if in case you wish to sign up to Messages once again, you can do so by following the following simple procedure;
- Navigate to Messages
- Then preferences
- Click on the ‘+’ at the bottom of the accounts pane.
- Finally, key in your Apple ID followed by your password.
You should be good to go if you do not have two-factor authentication activated, lest you need your trusted associative gadget close by.
Fixing iMessage when it’s not working properly
Sometimes it is not even about deactivating iMessage app because of distractions but because of the mere reason that it’s not functioning optimally. Assuming this is the case, then attempt carrying on the following attempts;
- Close down the iMessage app religiously following the stipulated guidelines
- Sign out of the iMessage app, and then sign back in.
- Ensure that you are on the same telephone number on both your Mac and your iPhone.
- Confirm that the email addresses that you have enabled in iMessage are those associated with your Apple ID.
- If you have multiple Apple IDs, then ensure that you are signed into the same one across all your gadgets.
When messages originating from your buddies are not displaying their name or pictures, then navigate to contacts under your Applications folder and search for their name. Confirm that the entry has the phone number or email address they are using for iMessage, if not, add it.
Blocking specific people from contacting you via iMessage
- If the person, company or group that you intend to block is not one of your contacts, then go to contacts under the application folder. If they are one of your contacts, then skip to step 3. You know you have someone in your contacts list if their names are displayed; otherwise, notifications will show the phone number or email address.
- Click on the plus sign and then proceed to fill the contact card under New contact.
- Open iMessage and select preferences from the Messages menu.
- Select the account that you usually use for iMessage.
- Proceed to click the blocked tab.
- Next, click on the plus sign at the bottom of the window. A window will slide down containing your contacts list. Type the name of the contact that you intend to block in the search box.
- Hit on the selection once he/she appears.
- All their email addresses and phone numbers will then be moved to your list of blocked contacts.

Denis is an article/blog and content writer with over 7 years of experience in writing on content on different niches, including product reviews, buyer’s guide, health, travel, fitness, technology, tourism. I also have enough experience in SEO writing.


