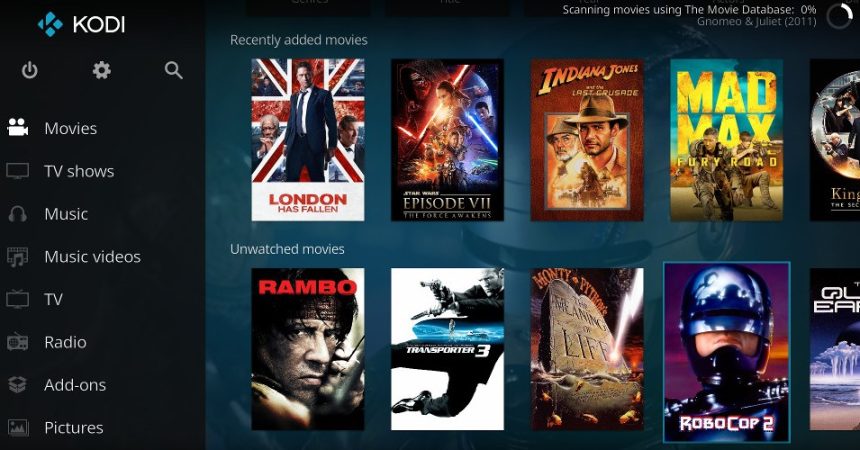
If you love watching movies online, you may have encountered Kodi, one of the industry’s best and most popular open-source media players. It’s free and enables you to smoothly manage your music, photos, and movies. It is compatible with different windows as well as Linux, macOS, and Android.
However, if you use it frequently, you have encountered the “Playback failed: One or more items failed to play” error every Kodi user is complaining about. Even though it’s a great app, it also has several issues.
Reasons Why One or More Items Failed To Play Kodi Fire Stick
- Missing maintenance add-ons
- A corrupt cache
- Problem with the new version
How to Fix the One or More Items Failed To Play Kodi Error
1. Clear the Cache Data
- Launch your Kodi app.
-
- On the home screen, navigate to the settings and click open.
- Tap the Gear icon on the upper left corner.
- Click on file manager.
- Scroll down to the Profile Directory and double-click to open.
- Choose Database on the drop-down menu.
- Go to the Add-ons.db file and click delete.
- Close your Kodi app and relaunch it to check if the problem is resolved.
2. Change Compatibility Settings
The Kodi playback error could be due to incompatibility of the current settings of your Kodi app and the devices’ hardware. If you make a few changes to those current settings, the Kodi app should start working properly. Follow these steps:
-
- Go to the settings on your Kodi app.
- Click on the file manager.
- Select “Add source.”
- Enter this URL “http://repo.ares-project.com/magic/” and click OK.
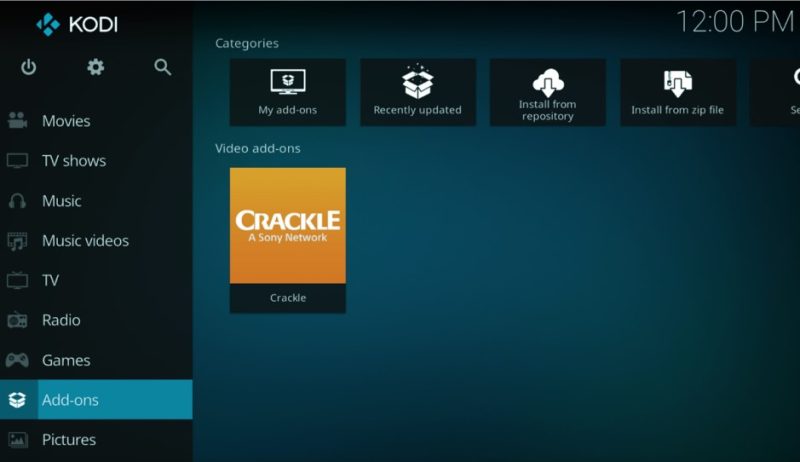
- Click “Add-ons” on the home screen
- Choose the box icon and select Install from the zip on the left corner.
- Locate the repository.aresproject.zip in the directory. Double-click the file to open.
- Go to the Menu and Select Install from Repository.
- Go to the Ares Project page and Click install Ares Project.
- Go back to the Home Screen.
- Scroll down the Menu and select program Add-ons.
- Click on Ares Wizard.
- Go to Tweaks.
- Choose Advanced Setting Wizard.
- Tap Next to proceed.
- Go to General settings and select Apply settings.
- Restart your app.
3. Install the Raw Maintenance Add-on
- Launch your Kodi app.
- Go to settings and click on it to open.
- Select File manager.
- Click on Add source.
- Enter http://solved.no-issue.is/ in the URL field and tap OK.
- Get back to the Home screen and go to settings.
- Open Add-ons.
- Choose install from Zip File.
- Click on repository.rawmaintenance.zip or repository.no-issue.zip
- Click on it to install.
- You will get a notification message telling you that the add-on has been installed.
- Restart the Kodi app.
4. Use An Older Version of Kodi
Although the latest Kodi version offers better performance, it might not work well with your device, which could be causing the Playback error. Maybe uninstalling the latest Kodi app and installing an older version could solve your problem.
- First, uninstall the current app.
- Launch the window run dialogue by tapping on the Win + R shortcut keys.
- Enter Control in the text box and select OK.
- Scroll down to programs and click on Programs and Features.
- Go to the installed apps and choose Kodi, right-click on it.
- Click on uninstall option and click on confirm.
- Go to Kodi’s official website and open the download page.
- Open the Older Releases and choose the OS you’re using currently.
- Tap on the to download and install.

5. Force Update The Add-on
You can still update the add-on even if it’s up to date. This may help you to solve the problem with your add-ons.
-
- On your Kodi Home screen, go to the Settings.
- Click on the File manager.
- Look for the add-on and right-click on it to find the update option.
- Click on the update even if it’s up to date.
- Restart the app to see if there is an improvement.
6. Use VPN To Unblock Geo-Restricted Content
If the Kodi issue is due to geographical restrictions, it’s best you start using a VPN. This is a technology that enables you to change your IP address. While using a VPN, you appear as if you’re working in a different location.
Additionally, the VPN encrypts the data and protects it from hacking or snooping. You can use the Kodi add-ons that can’t be used in your country due to geographical restrictions.
There are different options available in the market that you can use on your PC or Android phone. This includes CyberGhost, Ivacy, NordVPN, Surfshark, and ExpressVPN.
How Do I Install A VPN for Kodi on Windows
Below is a simple and straightforward method of setting up a VPN on your Windows.
- Look for the best VPN for Windows and get an active subscription.
- Go to your VPN’s official website and click on the plans to choose what works best for you.
- Complete the sign-up process.
- Go back to the VPN’s home page and select My Account.
- Log in using your credentials to use your account’s dashboard.
- Select download for Windows
- The VPN’s download starts immediately and a new Web page opens with your activation code.
- Now, follow the normal process of installing any Windows app to install your VPN.
- Once you log in, type in the activation code, and the VPN’s home screen will appear.
- Click on the Three-dots icon to connect to the server and get a New IP.
How to Install a Kodi VPN on macOS
-
- If you haven’t learned about VPN’s, first search for the best VPNs in the market and choose the one.
- Once you decide on which VPN to use, go to its official website.
- Navigate the Menu to find their plans.
-
- Choose a plan that suits you and fill in your credentials.
- When done, go back to the home page and click on My Account.
- Enter your Email address and password to log in to the account.
-
- Your OS appears automatically; choose download for Mac or Mac from the device’s card set-up.
- The installation file starts downloading.
- An activation code displays on the website; don’t close the website.
- Install the already downloaded app just like other apps.
-
- When the installation is done, click on the app to open.
- Enter your activation code to access the website.
- The VPN’s home screen should now appear.
- Click on any of the available servers of your VPN.
- It takes a few minutes to connect, but go back to relaunch your Kodi app once done.
- Try to access the add-ons that were unavailable earlier.
How to Install a Kodi VPN on Android Device
- If you haven’t settled on your best VPN option for Android, continue exploring to make the best choice.
- Visit the VPN’s website and choose your subscription plan.
- Fill out the required information using your credentials.
- Now on your Android device and open your Play Store. Use the search bar to look for the VPN you have subscribed to.
- Click on the app once it appears.
- Tap on the green-colored “install button”.
- Once the installation is done, you will get a notification message.
- Open the VPN app on your device and log in to the VPN app using your email address and password.
- Go to the VPN’s home screen and click on the Three-dots icon. Select any server and click on its name.
- Leave the VPN app and open the Kodi app on your Android device.
- All the Add-ons that were blocked earlier should now work fine.
7. Check Log Files
If you keep getting an error that prompts you to check the log files on Kodi and doesn’t understand how to fix it, here is a step-by-step guide to help you. However, before checking the files, you need to realize that the Kodi log files are usually saved in different locations. Depending on the operating system running your device, you can select from the following:
- For Mac: /Users/(PC_NAME) Library/Application Support/Kodi/Kodi.log
- For Windows: C:\Users\(PC_NAME)\AppData\Roaming\Kodi\kodi.log
- For Linux: ~/Kodi/Kodi.log
See the steps below:
- Go to Kodi and click on the System option.
- Click on the Add-ons button and choose install from Repository
- Click on Kodi Add-on Repository and go to the Program Add-ons option
- Scroll down to the log viewer for Kodi and click install.
- Go back to the home screen and hit the Program option.
- Tap on the Log Viewer button.
- Click on the show log option.
Conclusion
You must have noticed that most programs have one or two issues, but there is always a way to solve them. As mentioned above, go through the solutions and choose the one that matches your Kodi problem. Also, try to combine different answers if you don’t know exactly what is causing the problem.
Remember that the log files often contain your personal data, including the hostname and username. Sometimes, the add-ons may disclose your passwords and device’s IP address; therefore, you should edit the information before sharing your log files.

Denis is an article/blog and content writer with over 7 years of experience in writing on content on different niches, including product reviews, buyer’s guide, health, travel, fitness, technology, tourism. I also have enough experience in SEO writing.


