For someone who loves to tread over the Steam platform to play games, any failure during the process could lead to unnecessary frustration. Several Steam users tend to report this issue, stating that the Steam games won’t launch or the Steam client fails to launch when they plan a game with their friends or other online players.
Now, this issue could either show up in a way that prevents the platform from launching at all or might close down abruptly seconds after launching. This problem can stem from a range of reasons like unclosed processes in Steam operating in the backdrop or even interference from any other software. Regardless of what ails the Steam, this sure is annoying.
You would surely want to fix the problem. There are several go-to options you can try to bring your Steam back online. Keep in mind all these solutions might not work for you. However, some would surely work depending on the problem ailing you.

Top Ways to Solve “Steam Won’t Launch” Issue
1. Restart the Computer
The first and easiest thing you can do when Steam won’t start is to restart your system. Remember back when the best option for any system or gadget error was to simply switch off the entire thing and then switch it on in hopes of setting things straight?
Restarting the system helps deal with the tiny problems in the processes or programs of the Steam system. It can also deal with any type of cache issues that have been interfering with the client from starting up. If this solves your problem, you are good to go!
2. Reinstall the Steam Client
This might seem a tad obvious, but it surely works in most cases. Reinstalling the Steam client helps you fix several issues with the Steam OS or files. In order to reinstall the Steam client, here are the steps you would have to follow:
1-First, you need to download the latest and updated Steam installer by visiting the official website.

2-Next, open the Steam installer just downloaded by you. Now, follow the automated wizard instructions in order to reinstall the Steam client.
Note: Make sure you opt for this reinstall option with the very same client and location, or it could lead to game and data loss.
3. Close off All the Background Tasks in Steam
At times, there could be a possibility that your Steam client hasn’t shut down completely. There might be tasks or processes that still run in the background. When you open the Steam platform, later on, the OS thinks that the very same processes are running again & hence refuse the launch of the client a second time.
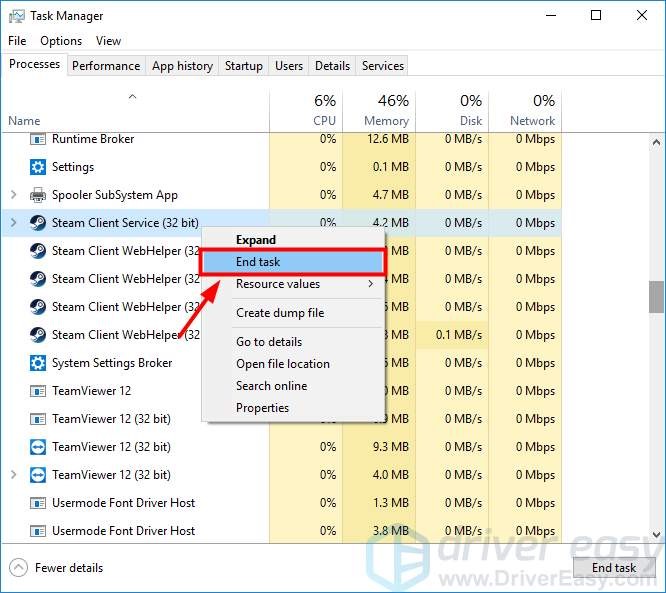
In order to open the Steam client without any error, you need to end all the Steam tasks using the Task Manager. You need to do this before launching Steam the next time.
Here is how you can do it:
1-Open your Desktop and right-click over any of the empty spaces in the taskbar. Next, click on the Start Task Manager or Task Manager option.

2-Find the processes running in Steam and click on the End Processes or End Task option.
4. Restart the Network Devices
Another issue that might be causing the error “Steam games won’t launch” is a bad network. This could be due to the network devices at your home connected to your system. The network devices such as routers or modems could have corruption issues, and it could hamper the launch process without you getting even a sniff of it.
You can simply restart the network devices for a complete reset & allow them to get back to the original start. In order to restart the network devices, you need to:
- Shutdown the computer, modem, & router as well
- Now, unplug your power cables connected to the router and the modem
- Wait a few minutes before you plug everything back in
- After you are done plugging in, start the router and modem
- Now wait for everything to turn on completely
- Finally, put on the computer & check whether your Steam client is launching without any glitch
5. Temporarily Disable the Antivirus Software
At times, your Steam platform might fail to open due to any interference coming in from the antivirus software installed in your system. If you feel this is what ails your Steam platform, you can disable the antivirus temporarily & check whether the issue persists.
You can consult the antivirus service provider depending on which brand you have on your system. On successful contact with the software service provider, ask for instructions and disable it step by step. If this is what helps solve the problem, make sure you get in touch with the antivirus vendor and ask for a solution that doesn’t interfere with your Steam launch.
6. Update the OS and Drivers
Another reason for the Steam client to fail from launching could be due to an outdated driver or operating system. You can opt to update the system & the device drivers to check whether it fixes the problem.
In order to update your OS, you need to follow these steps:
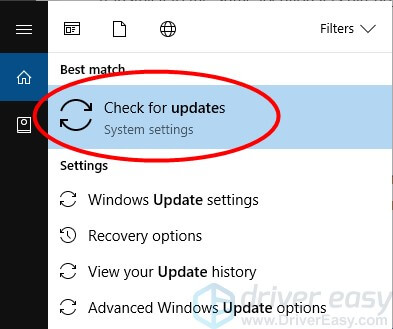
1-Click on the Start option in the Window’s left corner on the lower side. Next, in the search bar located beside, type the words “update.”
2-Next in the result list you get, click on the Windows Update or Check for Updates option.
3-In the next window panel that opens up click on the “Check for Updates” tab.

4-Let Windows check the computer & if there is an update needed, the system will list out all the necessary updates you must install. Download & install all these updates.
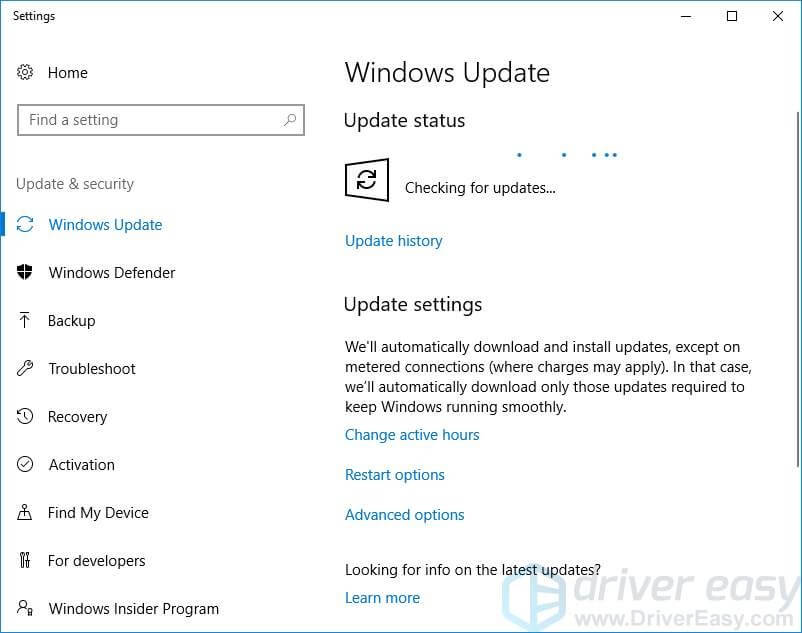
5-Finally, check the Steam client & see whether the problem is resolved.
Alternatively, updating your system drivers would require more steps & computing skills as opposed to system updates. If you cannot do it manually, you can opt for automated solutions available online to help update the drivers in one go.
8. Restore the Computer to an Earlier Restore Point:
This method to avoid the Steam won’t start problem could be a bit complicated. However, it surely works most of the time. If you recently installed any latest program on the computer, it could stop the Steam client from opening.
You must undo these changes and check whether it fixes the error. If it doesn’t, the change might be deeply embedded into the system and would require a quick system restoration to the last point created by your OS before this problem started taking a toll on the Steam client.
In order to get this done, you need to follow the steps here:
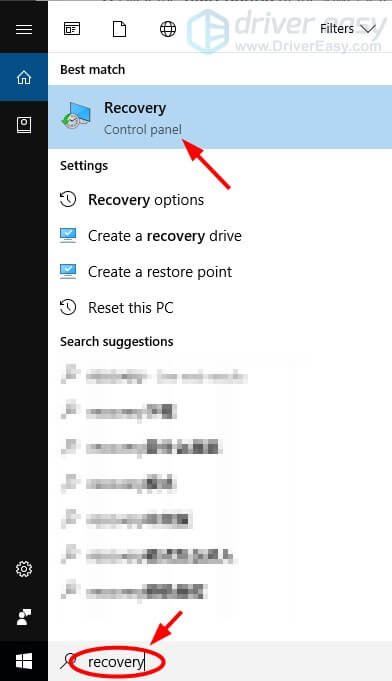
- Click on the Start option on the left corner of the screen on the lower end. Next, type the words “recovery” on the search bar.
- Next, click on the “Recovery” search option from the result list.
- Next, click on the “Open System Restore” tab. This will open up the wizard for System Restore.
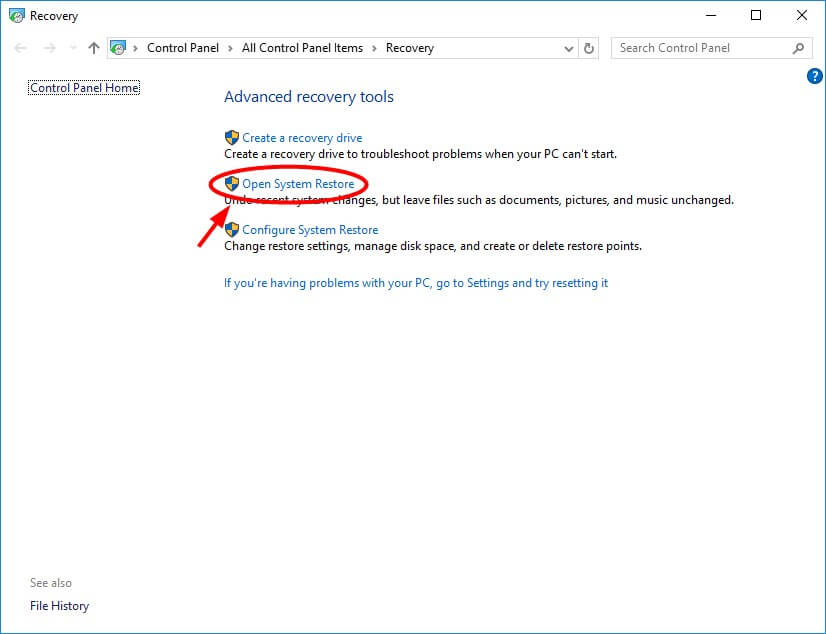
- Follow through the instructions by the installation wizard by clicking on the next tab till you reach the end of it.
- After this process is completed, open the Steam client & check whether it works perfectly. If it does, the restoration has worked.
9. Test out the RAM
Your system RAM tends to develop memory-related issues that tend to interfere with the Steam client. This happens especially during the Steam installation process. Windows RAM problems tend to induce gameplay issues.
In order to check your RAM, here are the steps you need to follow:
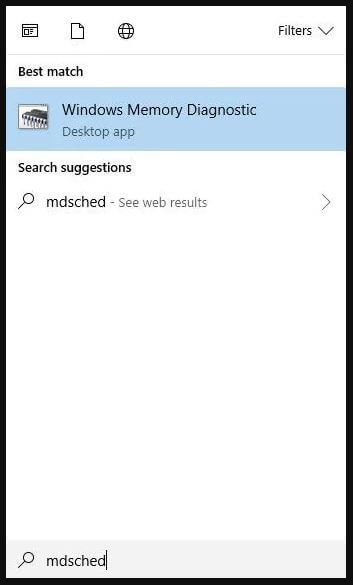
- Close off any of the open programs and save the existing work. Now, type the words “mdsched” into your Start menu & select the option “Windows Memory Diagnostic” result.
- A pop-up window shall appear. Now, choose the option “Restart Now & Check For Problems (Recommended).”
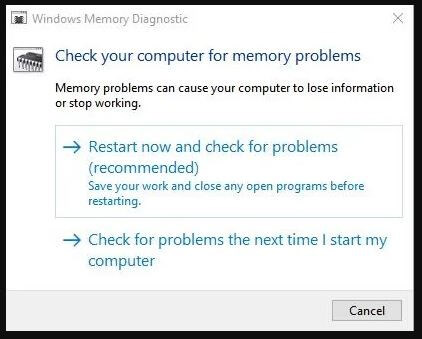
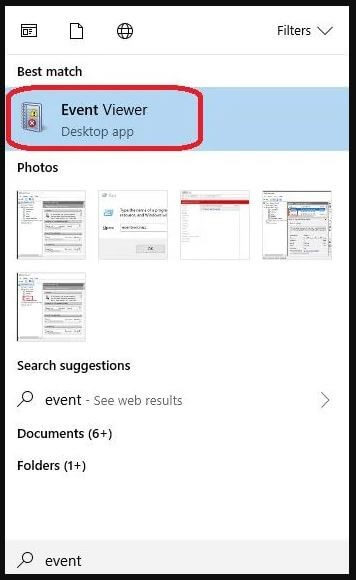
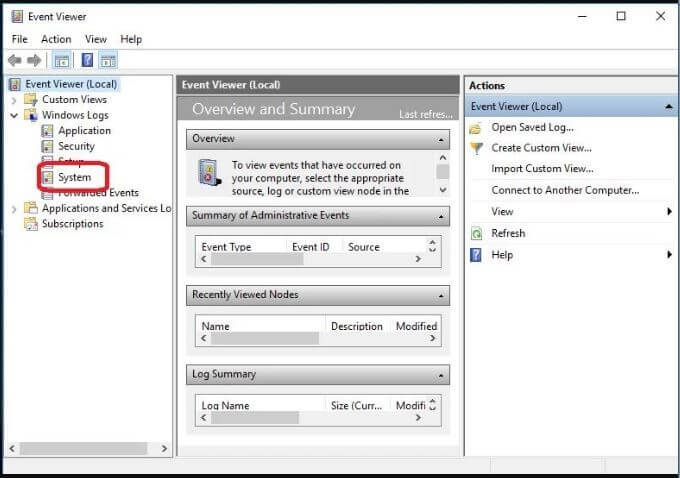
- Doing this will make your system run a quick memory check & restart. This system check might take a bit, but you need to be patient during the process. When the system check is completed and completely rebooted, you need to type in the word “event” into your Start menu & select the option “Event Viewer.”
- Check the left section of the Tab that opens up. Open the menu for “Windows Logs” & click on the “System” option once.
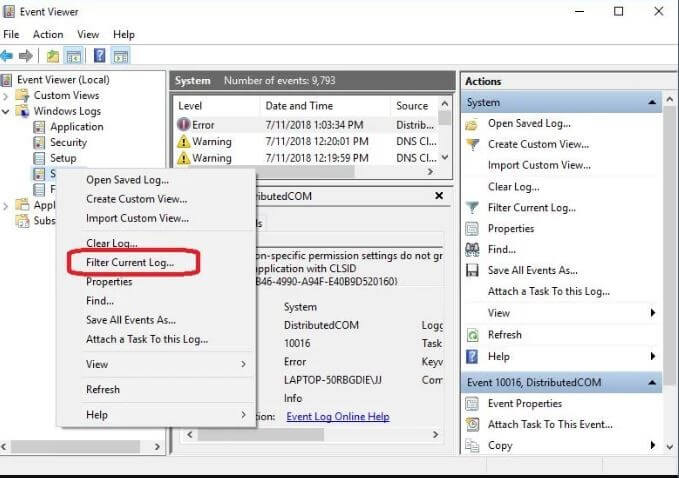
- Next, you have to click on the “System” option again. However, this time, you need to make use of the right-click option. This will pop up another Windows menu. You need to select the “Filter Current Log” option. You cannot select the option in case you failed to opt for the left-click option.
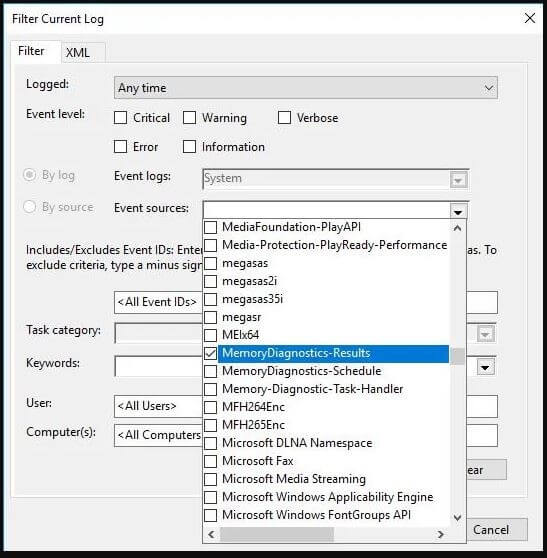
- In your Filter Current Log window, you need to click on its drop-down menu located next to the “Event Sources.” Next, scroll down this menu until the “MemoryDiagnostics-Results” option is found. Check the box next to it & click on the “OK” option.
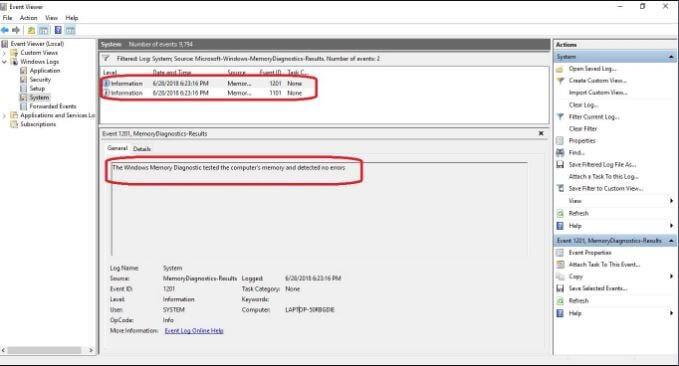
- Doing this will take you to your system’s Event Viewer. Here you would have 2 “Events” that are listed within the menu’s filter log. Click on each of these events & look at the information provided. In case you detect zero errors, opt for any other method. There is no problem with the RAM hardware. In case you do see the error, you have to continue ahead to the next step.
- The only right way to correct the RAM problem is to replace the RAM sticks. If preferred, you can opt to test each stick one by one. To do this, you need to shut down the system and remove other sticks except for the one being tested. You can then reboot the computer & rerun all the steps starting from 1 to 7 in this list.
Repeat this using all the RAM sticks one after another. You can replace any sticks that have factory errors. Check whether your Steam issue has been corrected after replacing the same.
Conclusion
Once you have tried out all these solutions explained above, your Steam client should be back to normal. However, if none worked for you, it could be a problem with the main Steam program. You could report this error to the original makers and wait for any reply for the issues to be resolved. This could happen with an update by the makers.

With 4+ years of experience working as a journalist, Ford Pascall has gathered ample knowledge and skills in the tech reporting domain. I’m someone who chases after everything new in the tech world and is a perfectionist when it comes to technical reviews.


")


")

