A simple trick to get rid of Windows 10 tiles or tiles, collapse the Start menu and restore the layout similar to Windows 7. How to transport its layout across multiple PCs and user accounts.
With the launch of Windows 10, Microsoft has finally ditched the Start menu setup introduced with Windows 8.x to move to a more traditional approach.
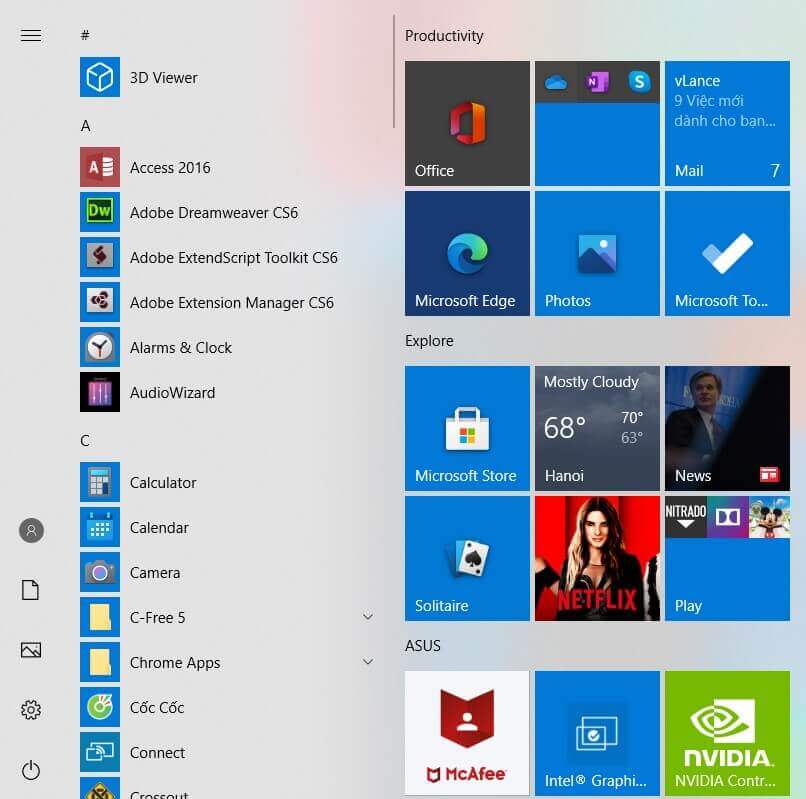
If you are using Windows 10 in tablet mode, by clicking on the Start button at the bottom left, a “carpet” will be shown with all the various tiles ( tiles ) that, with a touch, allow you to start the installed applications.
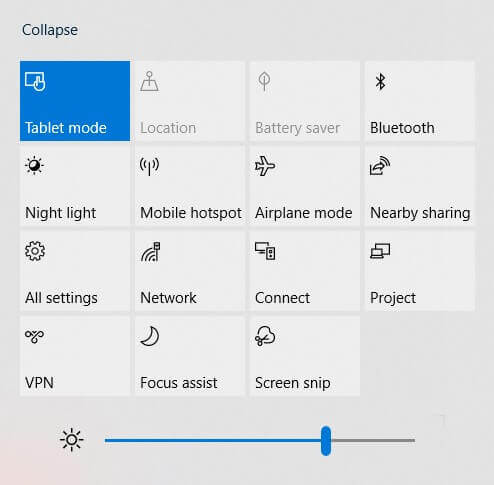
Tablet mode is activated or deactivated by clicking on the Notification Center icon at the bottom right and then on the Tablet mode button.
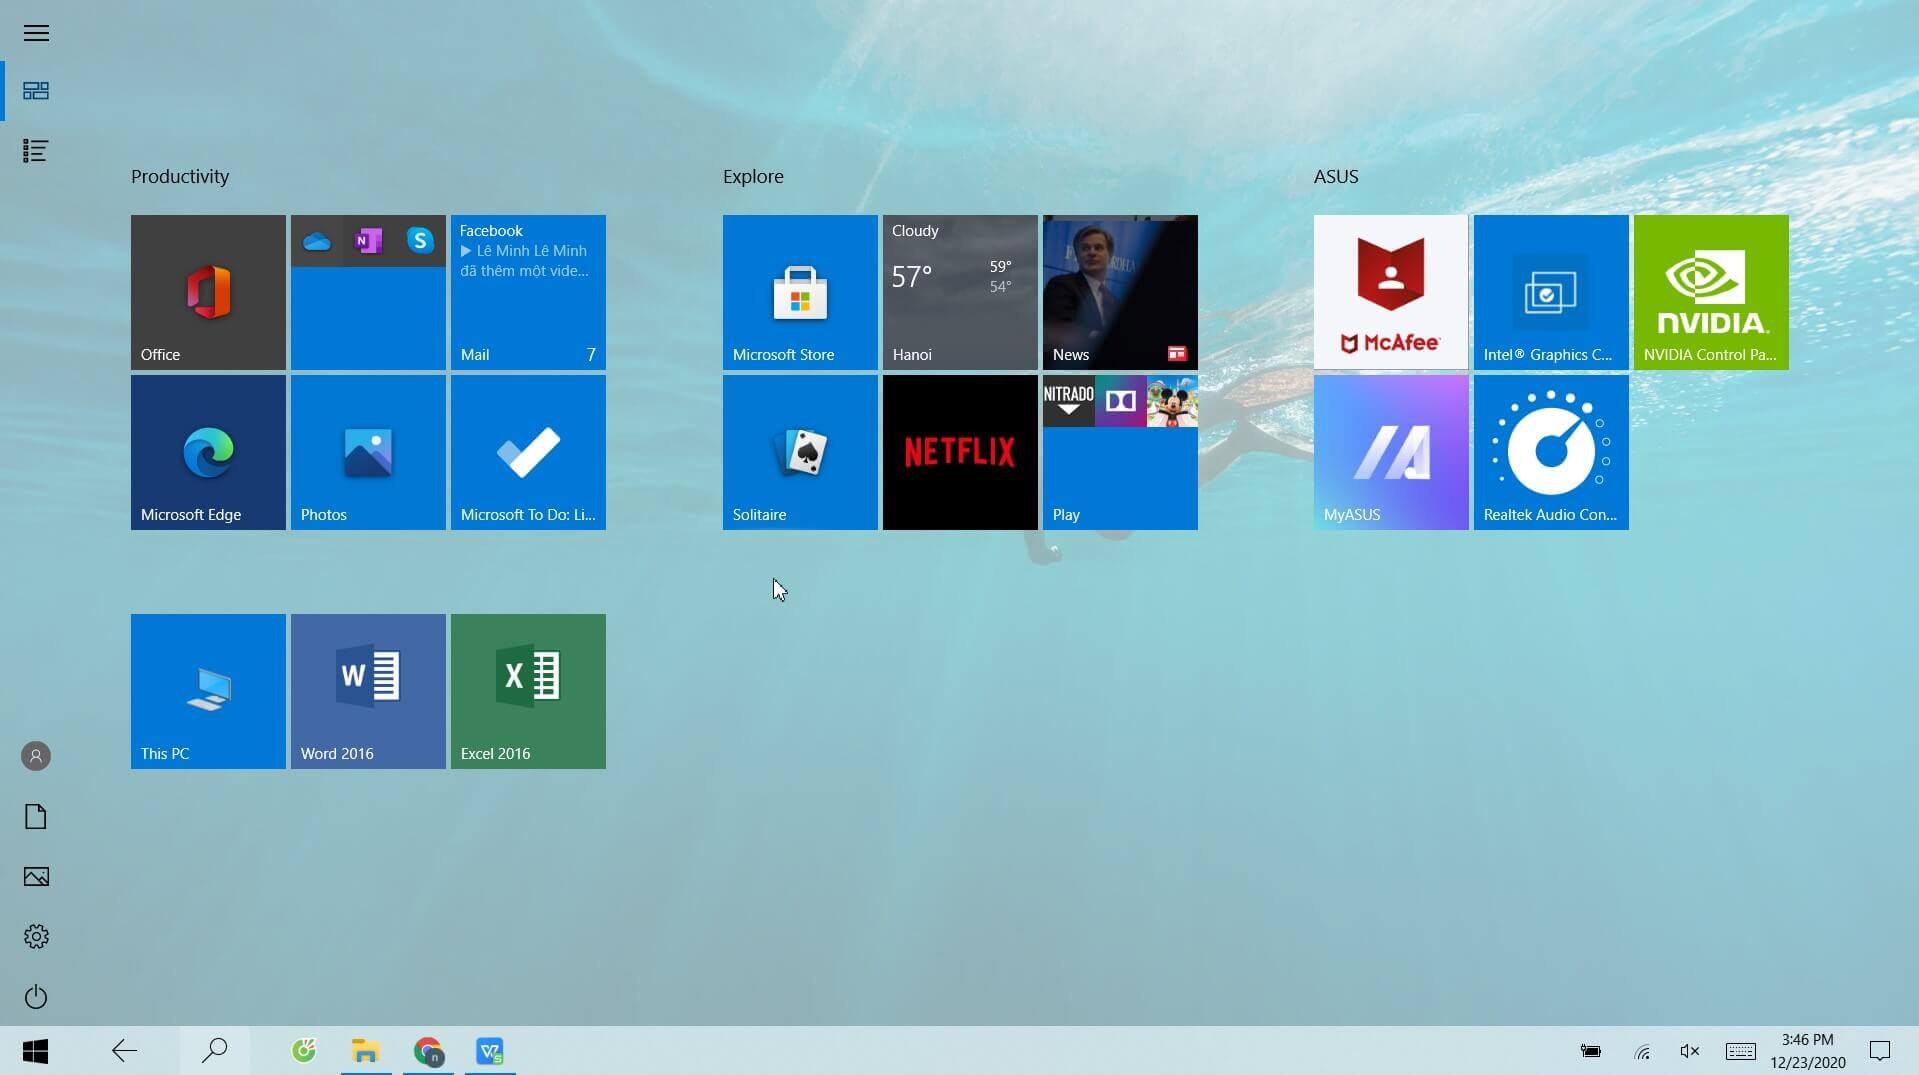
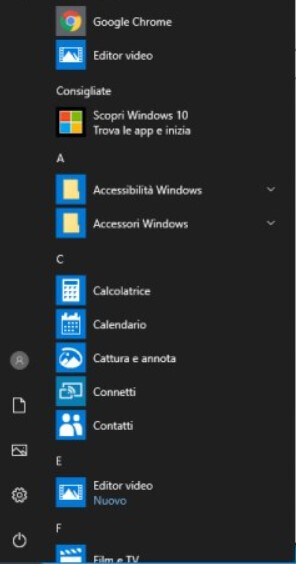
Otherwise, in normal use mode, the Start menu will appear similar to what is shown in the following image.
In the articles Cleaning Windows 10: attention to the automatic installation of apps in the paragraph Delete all third-party applications installed by Windows 10 and compact the Start menu we presented, respectively, the free app WPD is a script to remove potentially useless applications that Windows 10 uses to install, even in the Pro edition.
But how to clean up the Windows 10 Start menu and make it similar in behavior to the “historical” one of Windows 7?
Clean the Windows 10 Start menu, make it more compact and similar to the Windows 7 one
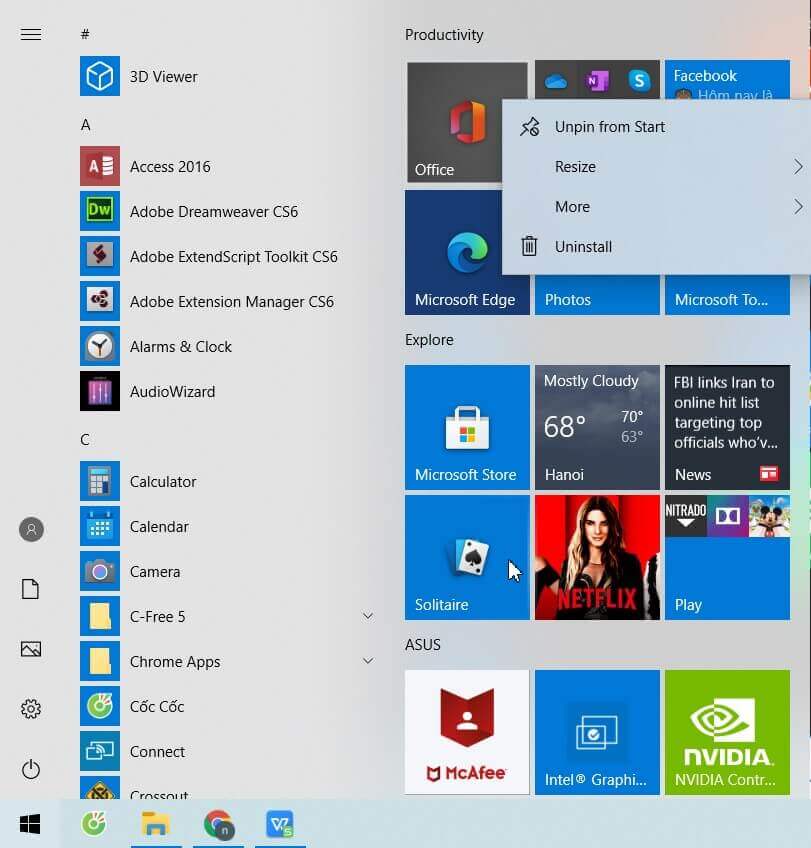
By right-clicking on each tile in the Start menu and then selecting Remove from Start, you can permanently delete it.
Repeating all the tiles’ operation, you will find yourself in front of an empty right part of the Windows 10 Start menu. At this point, you can drag the right part of the menu to the left to compact it and thus reduce its size. You will get a Start menu that closely resembles that of Windows 7.
Create a backup copy of the Start menu and copy it elsewhere
The Start menu configuration refers to the single user account in use. If you want to use the same Start menu configuration on other accounts or other Windows 10 PCs, just apply a few simple steps:
1) Type cmd in the Windows 10 search box, then use the CTRL + SHIFT + ENTER key combination to open the command prompt with administrator rights.
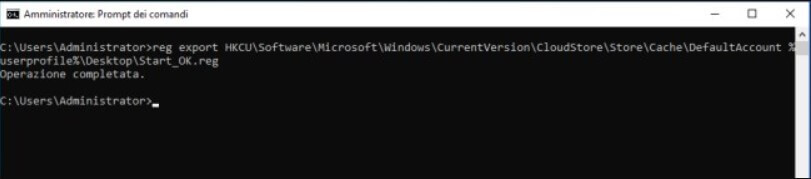
2) Issue the following command to create a backup of the current Start menu layout:
reg export HKCU \ Software \ Microsoft \ Windows \ CurrentVersion \ CloudStore \ Store \ Cache \ DefaultAccount% userprofile% \ Desktop \ Start_OK.reg
Windows 10 will create a backup copy of the Start menu configuration and save it in the Start_OK.reg file.
3) Copy the Start_OK.reg file to an external storage medium or another account folder (using an account with administrative privileges).
4) Go to the other account or the other Windows 10 PC, open the command prompt with administrator rights (as seen in point 1 above) and possibly create a backup of the current Start menu configuration:
reg export HKCU \ Software \ Microsoft \ Windows \ CurrentVersion \ CloudStore \ Store \ Cache \ DefaultAccount% userprofile% \ Desktop \ Start_BACKUP.reg
5) Still at the command prompt open with administrator privileges, type:
reg delete HKCU \ Software \ Microsoft \ Windows \ CurrentVersion \ CloudStore \ Store \ Cache \ DefaultAccount / f
Don’t close the command prompt.
6) Double click on the Start_OK.reg file and consent to the inclusion of its contents in the system registry.
7) Again, at the command prompt, type the following:
taskkill / im explorer.exe / f
explorer.exe
8) By clicking on the Start menu, it will appear with the previously backed up configuration.

A tech-savvy writer with a knack for finding the latest technology in the market, this is what describes John Carter. With more than 8 years of experience as a journalist, John graduated as an engineer and ventured soon into the world of online journalism. His interest includes gadget reviews, decoding OS errors, hunting information on the latest technology, and so on.


. What are the news of the new format for images")


. What are the news of the new format for images")

