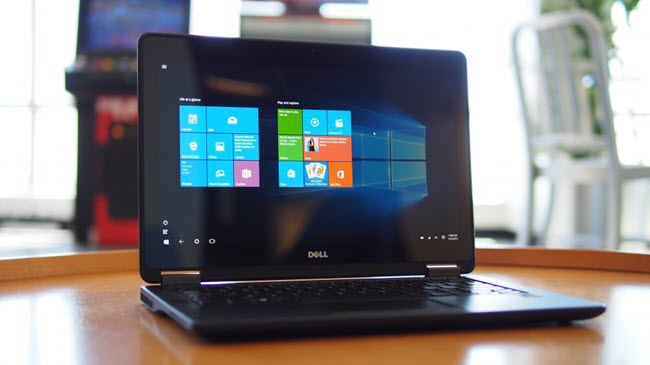
Dell System Detect is currently known as Dell SupportAssist. It is an application that runs on Windows-based tablets or PCs, and links with the Dell Support website, so you can enjoy a more personalized and better support experience.
What Functions Does Dell SupportAssist Perform?
The Dell SupportAssist application allows you to perform three major applications on the Dell Support website. If you carry out any of these three actions, you will either be occasioned to download and install the Dell SupportAssist application, if you haven’t already done so, or it may automatically start and proceed to install the latest version prior to completing the action.
- Detect Product: This is the most used function of the Dell SupportAssist app. You always have the option to let Dell detect your product at various sections on the Dell Support website, so you can receive targeted support. Once you select Detect Product, Dell SupportAssist immediately runs on your computer and detects your Dell PC’s Service Tag. Dell then makes use of the service tag to search product information, like your warranty end date and original system configuration, to offer you a product-specific support experience.
- Detect Drivers: After identifying your product, you may be required to run a Detect Drivers (System Analysis) on the Dell Product Support page’s Driver & Downloads tab. This prompts Dell SupportAssist to assess the drivers installed in your Dell PC and compare them against the latest available drivers. This is the best way to find out which of your system’s drivers are out of date.
On completion of the scan, you can go ahead and “autoinstall” the available updates using the Dell SupportAssist application. Dell SupportAssist also comes in handy any time the driver size is more than 2GB or when you opt to access drivers to download from your downloads list.
- Run Diagnostics: The Product Support page via the Diagnostics tab also provides you with the choice to “Run a diagnostic”. This aids with the detection and solution of common software and hardware problems. Once you select Run Diagnostic, the application becomes the link between the Dell SupportAssist application and the online tools. The application also helps with initiating Dell diagnostic tools through the right mode and handles the communications and progress protocol between the tools.
How to install the Dell SupportAssist application
Step 1: Start your browser and visit the Dell SupportAssist page.
Step 2: Review the selected Terms and Conditions, and once you are done, check the box and select “continue”.
Step 3: As soon as the installer download is completed, a notification window will pop up inquiring whether you would like to install the application. Click Install while still on this window
Step 4: A confirmation icon will come up in the Windows taskbar after successful installation. Product detection will commence automatically.
How to uninstall the Dell SupportAssist Application
The following instructions apply to various Microsoft Windows Operating Systems, including:
- Microsoft Windows XP
- Microsoft Windows Vista
- Microsoft Windows 7
- Microsoft Windows 8 or 8.1
- Microsoft Windows 10
Perform these actions to uninstall Dell SupportAssist from your Dell PC:
Step 1: Open the Run dialog box by clicking on the Windows key + R
Step 2: Type appwiz.cpl in the Run dialog box and click on the Enter key
Step 3: Choose Dell SupportAssist from the provided list of applications in the Programs and Features window
Step 4: Press the uninstall button situated at the top of the window
Step 5: Complete the uninstallation process by following the on-screen instructions
Troubleshooting Error Messages
The Dell SupportAssist installation may sometimes fail for various reasons. When this happens, be sure to follow the instructions below. You PC will probably display an error message when the failure occurs.
Usually, the error message comes about as a result of not installing Microsoft .NET Framework 4.5 on your PC. Successful installation of the Dell SupportAssist application may not occur unless Microsoft .NET Framework 4.5 is fully installed. This issue can easily be resolved by downloading and installing Microsoft .NET Framework 4.5 on your computer.
In the case of Windows Vista, Windows 7, or older operating systems, the following steps may prove useful:
Step 1: Visit Microsoft.com and head over to the Download Microsoft .NET Framework 4.5 page
Step 2: Select Download
Step 3: Next, click Run in the browser pop-up window
Step 4: Complete the installation by following the provided on-screen instructions
In case you are running Windows 8, Windows 8.1, or Windows 10 on your system, you can resolve the Microsoft .NET Framework issue using the Microsoft .NET Framework Repair Tool. Make sure to use the latest version of the tool.
How to Resolve Dell SupportAssist Not Working Issue
There have been various reports by Dell users about malfunctioning of the Dell SupportAssist application. Such issues include the app not responding, the app getting stuck on hardware scan, the app not launching or opening, and more.
Here are some of the solutions you might consider if you are facing a similar problem:
- First Solution
Step 1: Follow the path C:\Program Files\Dell\SupportAssistAgent\bin\Resources. This will lead you to the New-Dell-Logo-White-Small file.
Step 2: Right click on this file to rename it by simply eliminating Small. The new file name should read New-Dell-Logo-White.
Step 3: Launch Dell SupportAssist. It should work fine now, otherwise head over to the second solution
- Second Solution: Updating Windows 10
Step 1: Enter Windows update in the windows search box
Step 2: Select Check for updates
Step 3: Your system will receive the available Windows 10 updates
Step 4: Upon completion of the update, restart your computer and launch the Dell SupportAssist application. If this solution doesn’t work, try the third solution
- Third Solution: Uninstalling Dell SupportAssist
Step 1: This should help fix the problem if none of the above solutions prove useful.
Step 2: Type in Apps & Features in the windows search box.
Step 3: Click on Apps & Features and get rid of all the files associated with Dell SupportAssist.
Step 4: Once the Uninstallation is complete, restart your PC and install the latest version of Dell SupportAssist.
- Fourth Solution Using Revo Uninstaller to Uninstall Dell SupportAssist
The Revo Uninstaller should help you delete the remaining registry files for the SupportAssist application. The free download option is more than enough. After you have uninstalled SupportAssist, restart your system then reinstall SupportAssist and launch it.

Stephen is a versatile and enthusiastic content writer with a passion for writing. He has over 8 years of experience in the field of writing. He strives to transform businesses and lives through his writing, and enjoys every minute of it.


