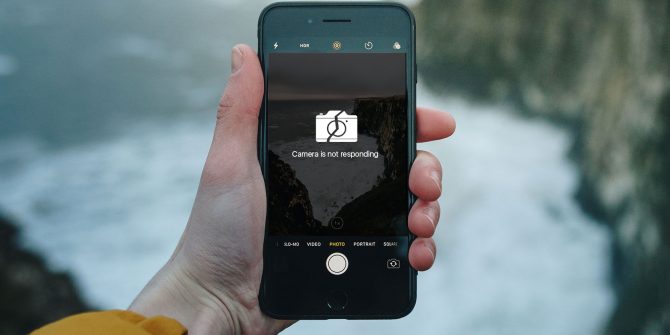
If you are on Macintosh Operating System (OS) then you probably do not have much to worry about as compared to users on another OS. Apple is a global brand that prides itself in producing top-notch quality products. Apart from this, is the fact that most cameras that are compatible with Macintosh tend to be operational right out of the package. So, if you find your MacBook camera not working, just know that you are one in a million. All the same, we shall look at a few tweaks on how to maneuver this hurdle.
Throughout this manual, it is highly recommended that you follow each stipulated instruction carefully lest you further destroy your malfunctioned camera. However, this does not mean that you are afraid to perform the dictated operations.
Possible causes of Camera not working Issues on Mac
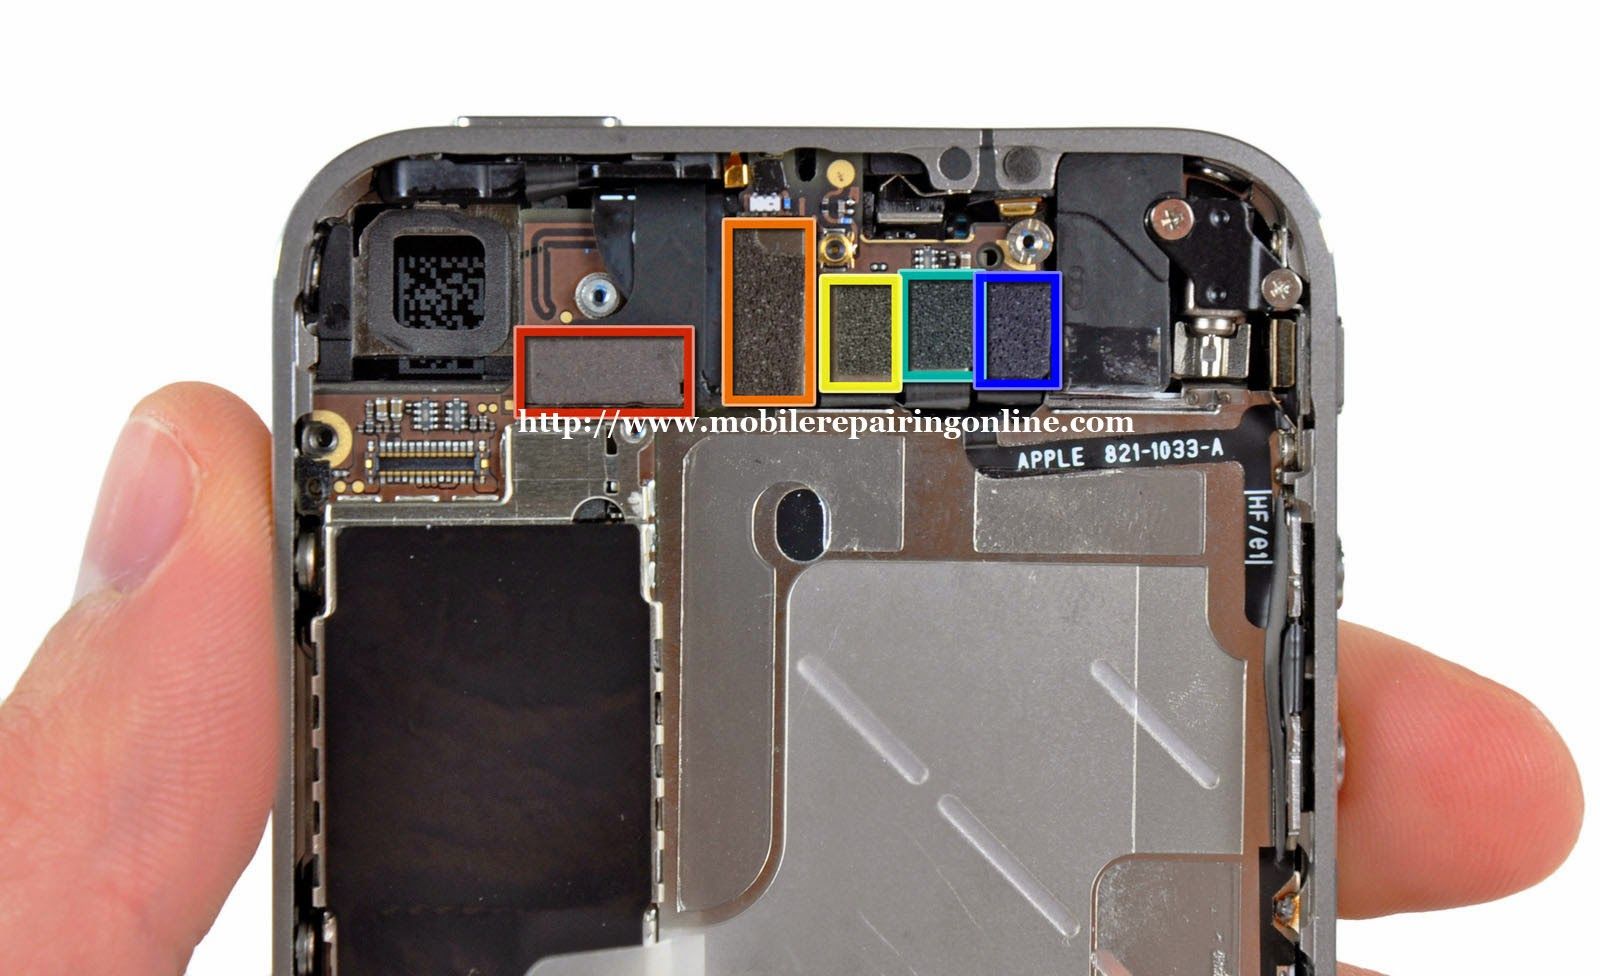
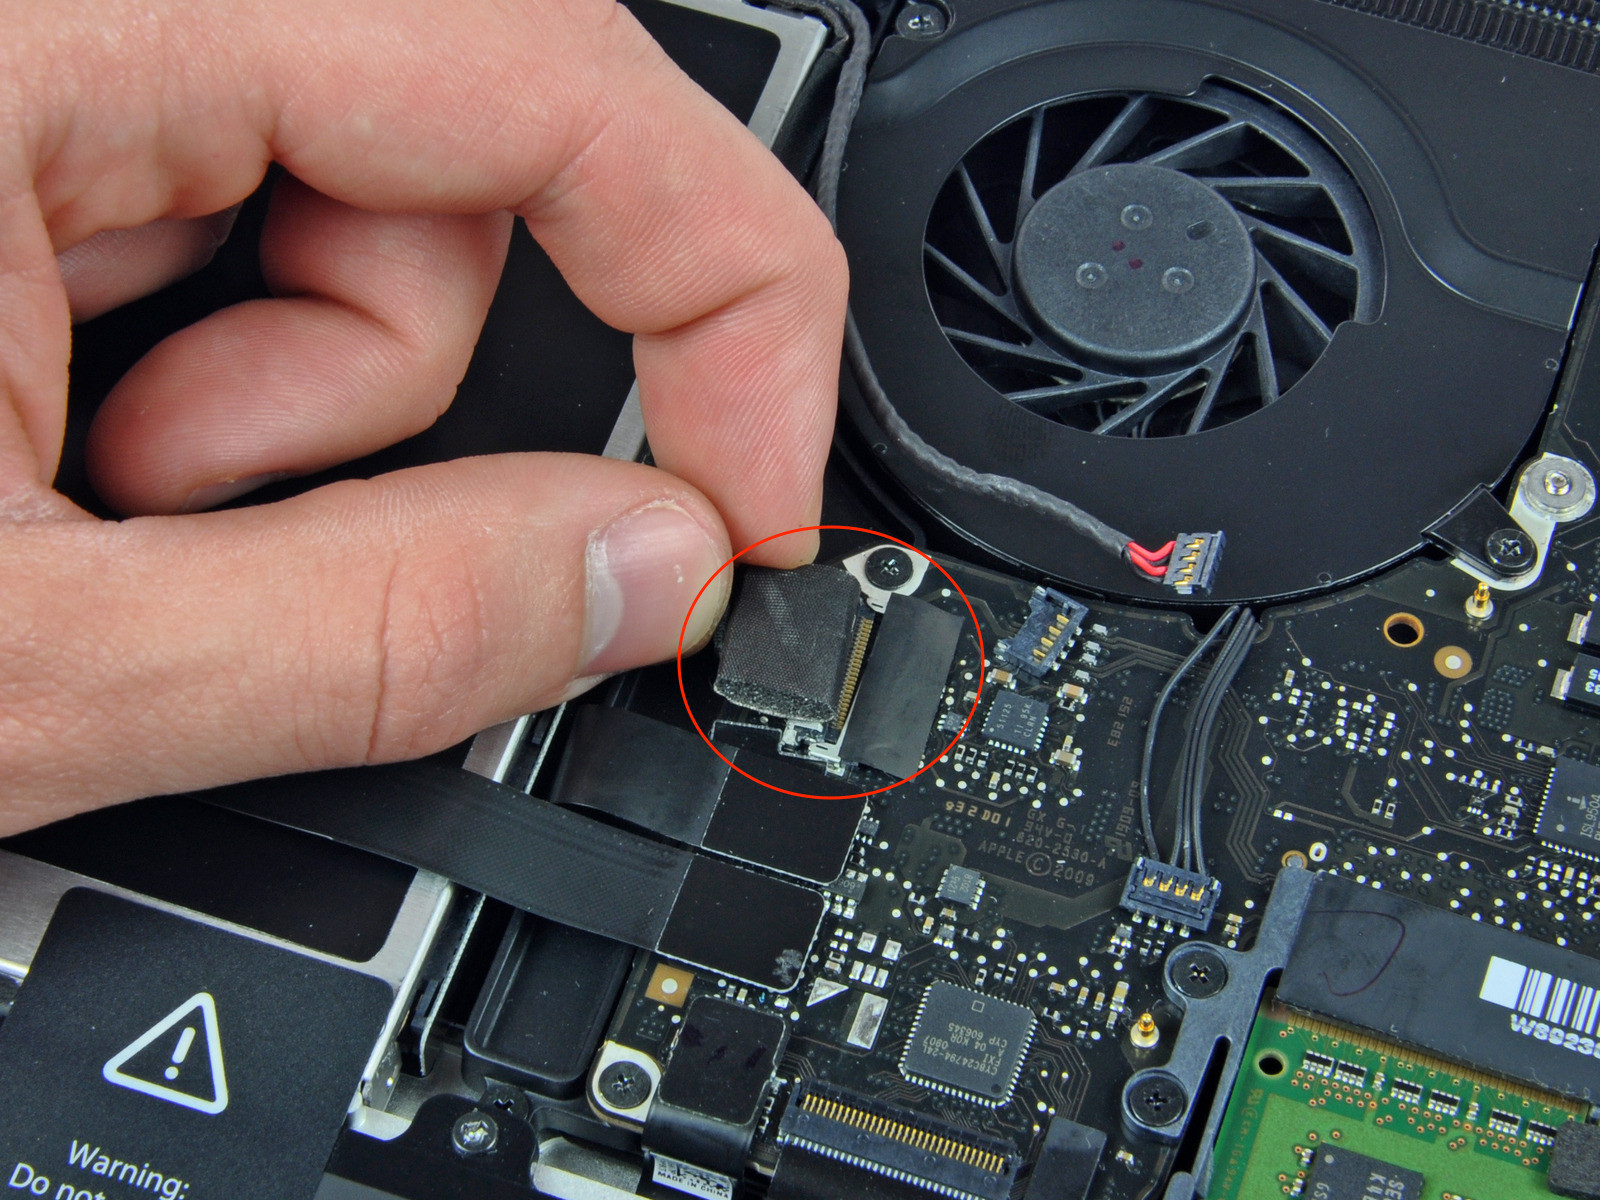
The possibilities of cameras not working on Mac are uncountable really. They range from mechanical malfunctions to software ones. In most cases, Mechanical problems may be impossible to fix with software solutions and vice versa. Camera’s facing mechanical damage need to be replaced, it’s that simple. Unless you are confident enough that you know what, you are doing, we highly discourage performing ‘Do it yourself’ (DIY) repairs.
If in case you can’t live without your malfunctioned camera, then getting an external webcam might be a good way to circumvent the problem. Software incompatibility has been reported although not as often as mechanical damages. In most cases, software is configured to adapt to most computers. If not, then additional drivers may be downloaded and installed from the associated camera’s manufacturer.
Connecting Camera on Mac
Connecting a camera on mac is as simple as plugging the camera’s USB cable to the USB port on the computer. Caution should, however, be exercised while performing this operation because Type A USB is non-reversible. Type C USB will only go in one way, therefore if the cable won’t fix easily, by all means, do not force it. Forcing USB cables into the port might damage the male or female parts of the mate. In case of the slightest resistance, pause for a second to examine both the mating and the mating parts before attempting again.
After a successful connection, the camera should start functioning immediately. Regular updates may soon follow the manufacturer with additional drivers available on the internet.
Turning on the camera
Please don’t embarrass yourself trying to locate the on / off switch to turn on your Mac camera. Truth is, it’s not there; it just doesn’t exist. The camera on Mac is initiated when apps that utilize it are launched. These apps include but are not limited to Photo Booth, Finder, Facebook, Selfie Camera and much more. The surest way to know that the camera has been activated is the flashing of an LED that is next to the built-in iSight camera.
In case the camera doesn’t activate automatically, then you might have to go about this manually. Take it like using a command line to Force Quit. To do this, open Terminal from Applications > Utilities. Inside the terminal window, key in “SudoKillallVDCAssistant” without the quotation marks of course! Press return key on your keyboard. At this point, you might have to provide your password. You will not be presented with any message if the process is successful. If an error message appears, however, then the process was not successful.
Iteratively go about repeating the process until no error message gets displayed. Once this is so, go ahead and launch an app that uses the camera as a means to test it.
In some cases, the Mac camera may not work when Skype is attempting to make phone calls. In such a case, chances are high that Skype is to blame. This could be due to an obsolete version of Skype being used, so it is recommended that one update the software. If it stands as up to date and MacBook camera still won’t work, then try re-installing the app. If the problem persists, then attempt restarting your computer.
Apart from the default MacBook camera, third party cameras do exist. They are a different ballgame altogether though. Some of these cameras are specifically meant for producing HD videos for social media viral marketing, YouTube channel video creations for mass marketing, etc.
The downside is that some of these cameras won’t be compatible with Skype no matter what you do. Which is why, before you make the actual purchase, you should always be on the lookout as far as compatibility with MacBook is concerned.
Mac Camera Settings
Macintosh OS does not come accompanied with a camera settings app. Most apps that utilize a webcam have their own configurations. This is why Apple will not even bother including native camera settings into MacBook. This gap was filled by third-party camera settings apps that allow access to various camera settings such as contrast, brightness, saturation, white balance, exposure time, aspect ratio, flash and much more. An example of such an app is Webcam Settings.
MacBook Camera Firmware Update
The default MacBook camera is controlled by firmware. A firmware is a permanent program that contains essential algorithms on how the device communicates with the hardware components of the computer.
This firmware should keep on updating automatically. You can also do the updates manually by downloading the iSight Updater. This updater will guarantee that you are on the latest iSight firmware available at any point in time. This is particularly important when you are on an aging MacBook that you seldom connect to the internet.
MacBook Video Recovery
We all sometimes fall victim to lost video; either happening accidentally or from your stubborn kid acting out their mischief. For whatever reason, data erased from the Hard Disk (HDD) is not always permanently lost. With data recovery software like Disk Drill, one can recover their lost data.
The recovery process is as simple as downloading and installing Disk Drill, launching the app, navigating to the targeted HDD and clicking on the recover button.

Denis is an article/blog and content writer with over 7 years of experience in writing on content on different niches, including product reviews, buyer’s guide, health, travel, fitness, technology, tourism. I also have enough experience in SEO writing.


